Heat transfer printing methods have been around for a long time and consistently deliver excellent results for almost any design and substrate. In recent times, DTF printing has been taking the industry by storm over its versatility, lower investment ceiling than direct-to-garment (DTG) printing, good print quality, and fast production speeds. Though it’s still relatively new, the way DTF printing has leveraged technology to its advantage has made it much more appealing to both new and existing print shops.
DTF printing shares quite a bit of DNA with many other heat transfer methods, including heat transfer vinyl (or HTV). Despite DTF’s newfound popularity today, HTV and other heat transfer methods remain an additional option for creating unique merchandise, whether it may be garments, mugs, or more.
So if you were considering going into a heat transfer printing method as a new printer or an existing one looking to expand your customer base, which is the better option? This article will help you identify the pros and cons of DTF printing and HTV. We’ll compare their similarities and differences and help you figure out which one of these printing methods suits your current needs.
What is DTF Printing?
Direct-to-film (DTF) printing involves printing inks onto a special transfer film. Using a heat press, you’ll transfer the film’s design to a substrate, where the hot melt powder acts as an adhesive. Once cooled down to room temperature, peel off the film.
DTF printing’s primary advantage is its superb versatility. You can easily print designs onto surfaces like cotton, polyester, and metal! All this gives you unprecedented customization for a wide variety of products. All DTF-printed designs are durable; you won’t have issues with cracks or stretching. With proper care, a DTF print can last a considerable time.
DTF printing is also a cost-effective method due to how affordable it is to purchase consumables and equipment. Starting with DTF printing is nowhere as cost-prohibitive as direct-to-garment (DTG) printing, allowing you to maximize your profits while keeping costs relatively low. You can quickly go for short-to-medium print runs with no issues with your profit margin. With larger, industrial-grade equipment, you can go even further!
What You’ll Need
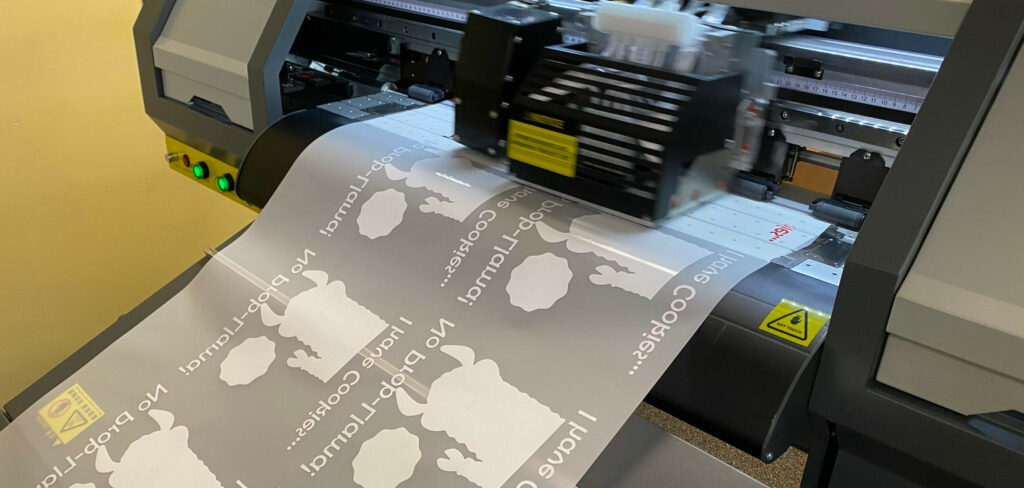
DTF printer: Printing your designs obviously requires a printer. These will print the design with the needed inks onto the transfer film, which will be used to transfer the design to the substrate with a heat press. For newcomers, a converted DTF printer (converted from a standard desktop inkjet printer) is an affordable option to get started with. While cheap, they come with several caveats.
For printers that have been at it for a while, mid-range and industrial-grade printers are a better option for higher productivity. The best high-grade printers also have built-in automated systems, such as an automatic powder shaker that applies the hot melt powder to the films.
DTF inks: Digital water-based inks are used for DTF printing. They’re pretty similar to DTG inks, except for some pigment modifications. DTF mainly uses white inks and the CMYK (Cyan, Magenta, Yellow, Black) color gamut.
Hot melt powder: The hot melt powder needs to be applied to the design while the inks are still wet. Once the powder is melted, it becomes a sticky adhesive, enabling the design to adhere to the garment’s surface. The overall feel of the print can be affected by how much powder is applied, its general properties, and even the surrounding area’s climate. You can also find white and black powders, generally recommended for light/white and black/dark garments.
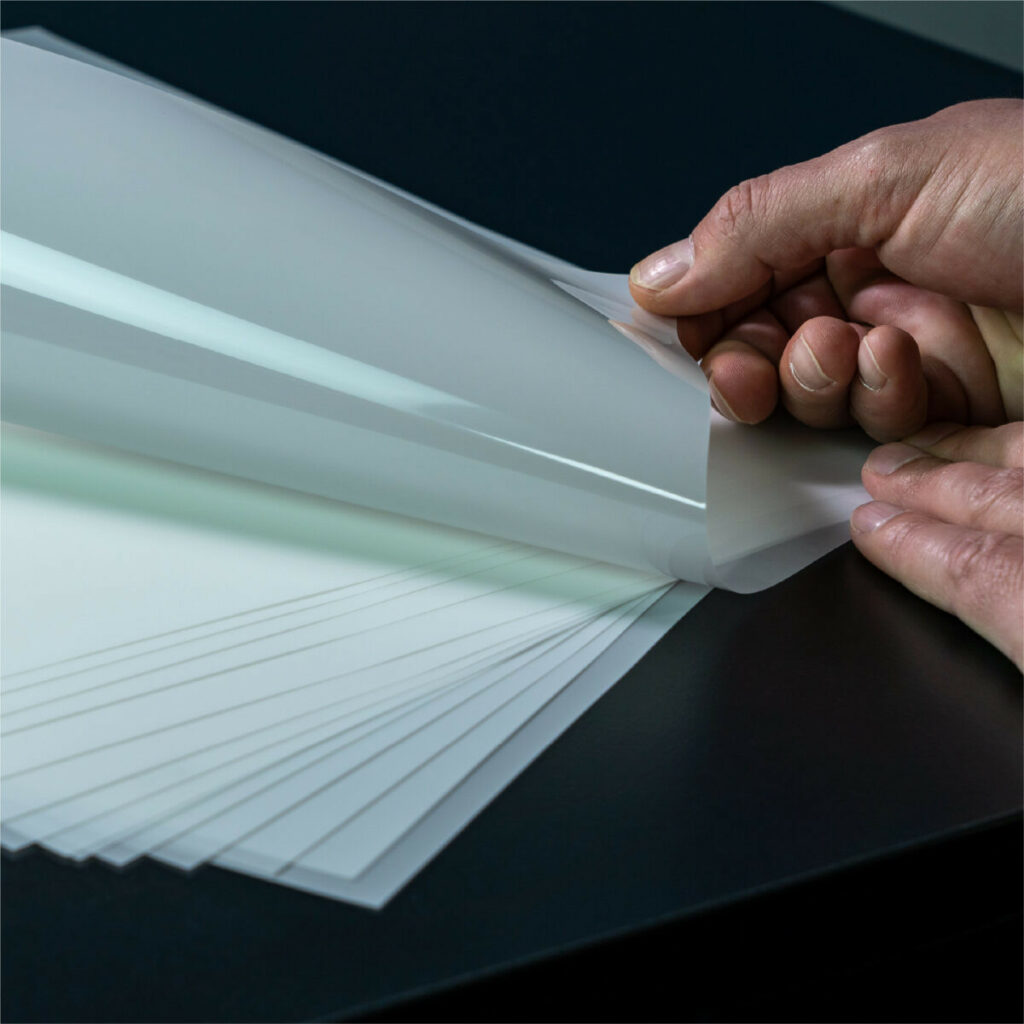
Transfer films: These are made from polyethylene terephthalate (PET) and are available in sheets or rolls. You’ll print your designs – and apply the hot melt powder – onto these.
Software: Design software and a raster image processor (RIP) are needed to get your designs from your computer to the printer. The former allows you to create the design, while the latter provides detailed instructions to the printer on how to print out the design.
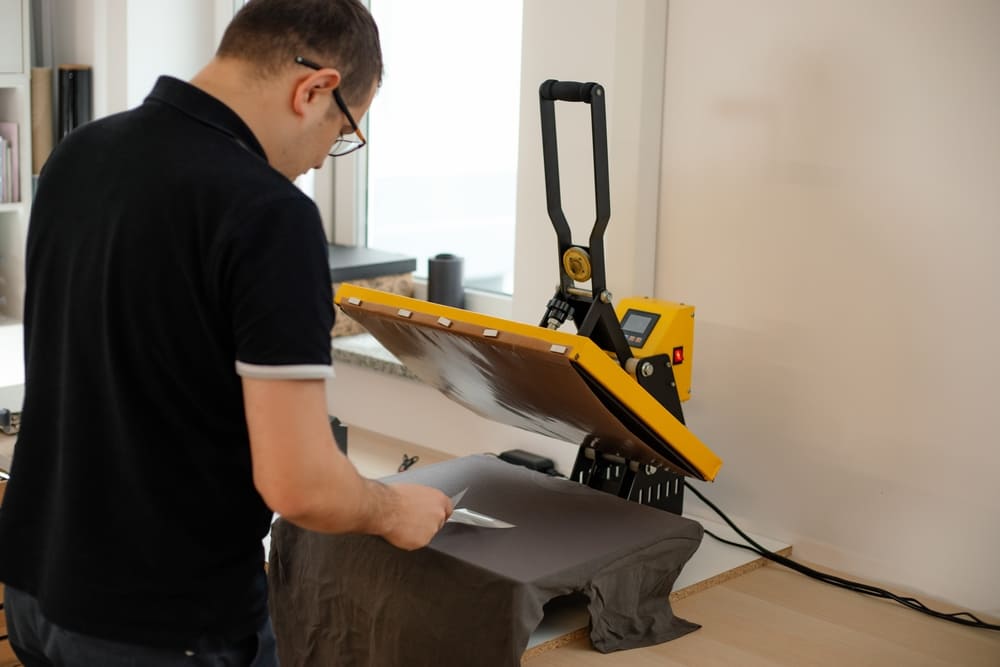
Heat press: A standard clamshell press will be sufficient for DTF printing. Just place the transfer film with the printed design on top of the garment, then use the heat press to put pressure and heat onto the film. This enables the design to be transferred from the film to the substrate. You’ll need to adjust the temperature and pressure settings to get an ideal print.
Protective paper/finishing sheet: It’s advised to use (Teflon) protective paper, or finishing sheet, placed over the film and garment before heat pressing them. This ensures that the film and garment aren’t burned or damaged when heat pressing. It’s also used in a second press to help improve the design’s overall durability.
When to Consider DTF Printing
Low Entry Ceiling
Thanks to converted printers and online tutorials, anyone can quickly get started with DTF printing. Converted printers can go for as low as $200 online; if you want to, you can convert one yourself using an online guide to walk you through the process. With all these resources, you can start printing within a day or two, allowing you to plan your business accordingly.
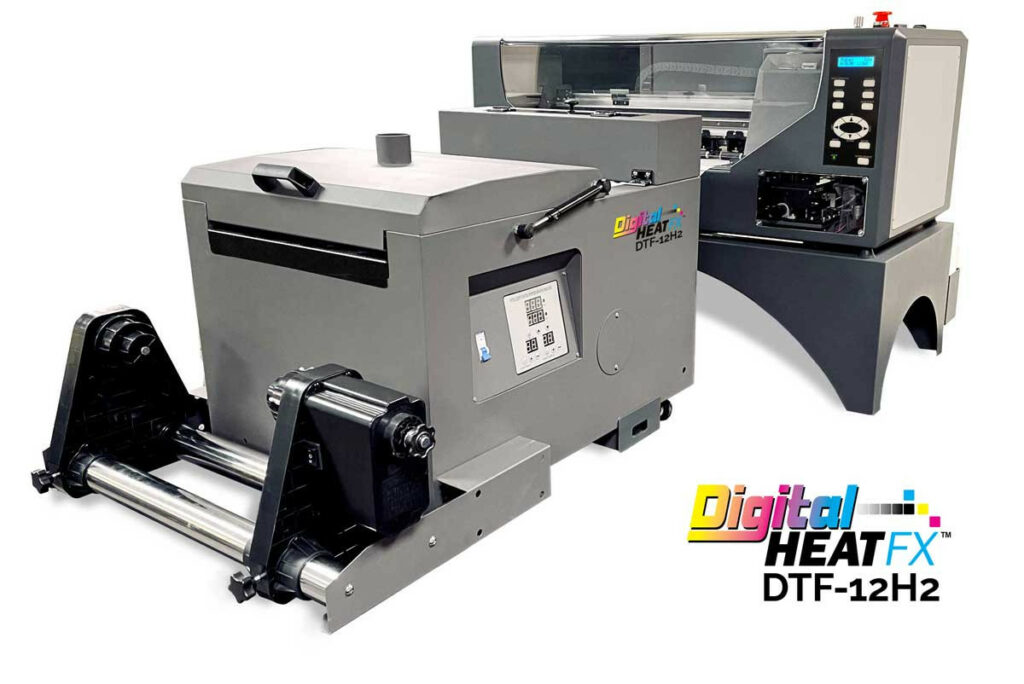
Mid-range printer packages can start from $10,000 and above, while industrial printers (like the DigitalHeat FX DTF 24H2 printer) can cost $25,000 or more. Most industrial printers come equipped with additional automated modules, some of which can increase the price.
As for your consumables, those are just as affordable, too. For the price of a single DTG ink bottle, you can purchase two DTF ink with a similar capacity. Transfer films and hot melt powder are also competitively priced, with various properties for different printing applications.
Straightforward Process
DTF printing is a relatively straightforward process:
- Create your design with your favorite design software
- Print your design on the film
- Place the film on top of the garment, where you need the design printed
- Apply the heat press for a few seconds
- Open the heat press and peel off the film (or peel it after it cools down)
- Place protective paper over the design and the garment, then heat press
- Let it cool, and it’s ready!
You don’t need to spend time pretreating clothes for DTG printing or preparing multiple screens for multicolor screen printing orders. You can quickly print out the same design on multiple sheets of film, or use larger, longer rolls to save even more on printing costs.
Good Printing Speed and Quality
With a good printing setup, you can quickly print out 15 to 30 garments in an hour – more than that if you’re using a mid-range or industrial setup. The straightforward print process helps reduce your production time significantly, allowing you to focus on making more garments for your customers with little worry over post-printing cleanup. Another benefit is not needing to weed out excess materials, like what heat transfer vinyl requires.
Printed designs have a relatively soft but plastic-like finish when you feel them. It might not be as smooth as a DTG print, but it’s pretty close. You can hardly tell the difference if you print them onto polyester or other artificial fibers.
However, the prints are durable; try stretching and contorting the design as much as possible, and you’ll find the design retains its original shape. They can also last multiple washes, just as well as a direct-to-garment (DTG) print; it’s possible to see the design last more than 50 washes if the print is applied correctly.
Versatility
DTF prints are also highly versatile, able to be printed on cotton, cotton blends, polyester, rayon, and silk; you name it! You must configure your heat press to use the proper temperature and pressure to prevent burns and other inconsistencies.
You can even print onto ceramics and metallic surfaces if you want to. It’s easy to transfer designs onto virtually any surface, regardless of their shape. You only need a special heat press to apply prints to mugs and other items.
Additionally, you can stock up on extra printed films and then sell them separately. If you have customers who’d like to apply prints you’ve made to their personal items, you can sell your excess prints to them. You can store them in a folder or some other secure storage media (away from dust and other particulates) and sort them nicely in a drawer or cabinet for future use.
Things to Remember
If you start your DTF printing business from home, keep your printer and auxiliary equipment in a room with proper ventilation and humidity. If you’re running your DTF printing business from home, keep your printer and auxiliary equipment in a room with adequate ventilation and humidity.
That’s not all: melting the hot melt powder to be used as adhesive can release harmful chemicals that could adversely affect your team’s health, including your loved ones, if you’re working from home. These health issues can be further compounded if there’s poor ventilation throughout the working area. You might have to spend more on equipment to vent these harmful chemicals out of the house.
While most consumable manufacturers claim that their products are made without dangerous chemical components, you shouldn’t ignore everyone’s safety to drive a profit.
Looking at Heat Transfer Vinyl (HTV)
So what about this heat transfer vinyl (HTV), then? While it shares some similarities with DTF printing, especially with how you transfer designs to the substrate, HTV uses a unique polyurethane-based material for decorating garments and various other items, like ceramic mugs. One side of the vinyl material is called the carrier, which holds the vinyl in place during application. On the other side is an adhesive backing that enables the material to adhere to the substrate’s surface.
Notice how similar it is to DTF printing? In the case of the latter, you need to apply the hot melt powder onto the DTF transfer film while the inks are still wet, and the heat and pressure from the heat press set the design into the substrate’s surface. For HTV, you’re not printing on the vinyl itself but instead cutting out the desired design using a special vinyl cutter. You’ll then use a weeding tool to weed out (or remove) the excess material, leaving the design on the carrier.
With the weeding done, use a heat press to transfer the design to the substrate, let it cool, and your product is ready to go!
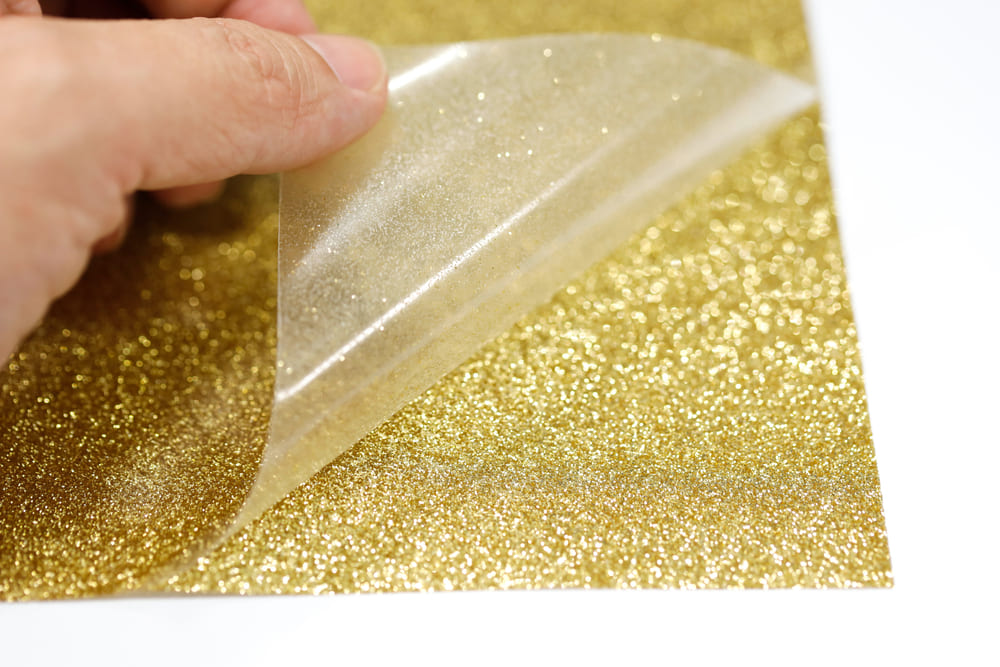
HTV’s strength comes from the vinyl itself. You have various types of vinyl, and we’re not talking about colors. If you want to create designs with a glossy or glittery effect, there’s a vinyl for it. With the simplicity of printing with HTV, you can easily have a large selection of customized goods for any customer. And despite the need for weeding, you won’t leave behind a huge mess that needs to be cleaned up.
Crucial HTV Equipment
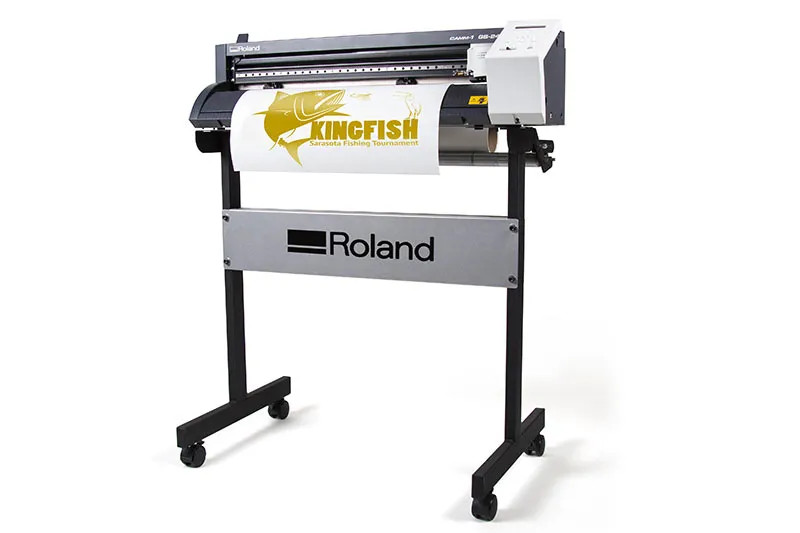
Vinyl cutter/plotter: The vinyl cutter is what you’ll need for all your HTV printing needs. You’ll need to create your design and send it to the vinyl cutter. Load the vinyl cutter with a piece of vinyl, and the machine will start cutting the vinyl into the desired pattern. Once it’s done, you can remove the cut vinyl from the machine and start weeding it.
On the other hand, a vinyl plotter is like a combination of a printer and a cutter. It can print out the desired print onto the vinyl (the plotting process), then cut them into shape. Plotters work best for multicolored prints, where cutting multiple pieces of vinyl of varying colors is less cost-effective.
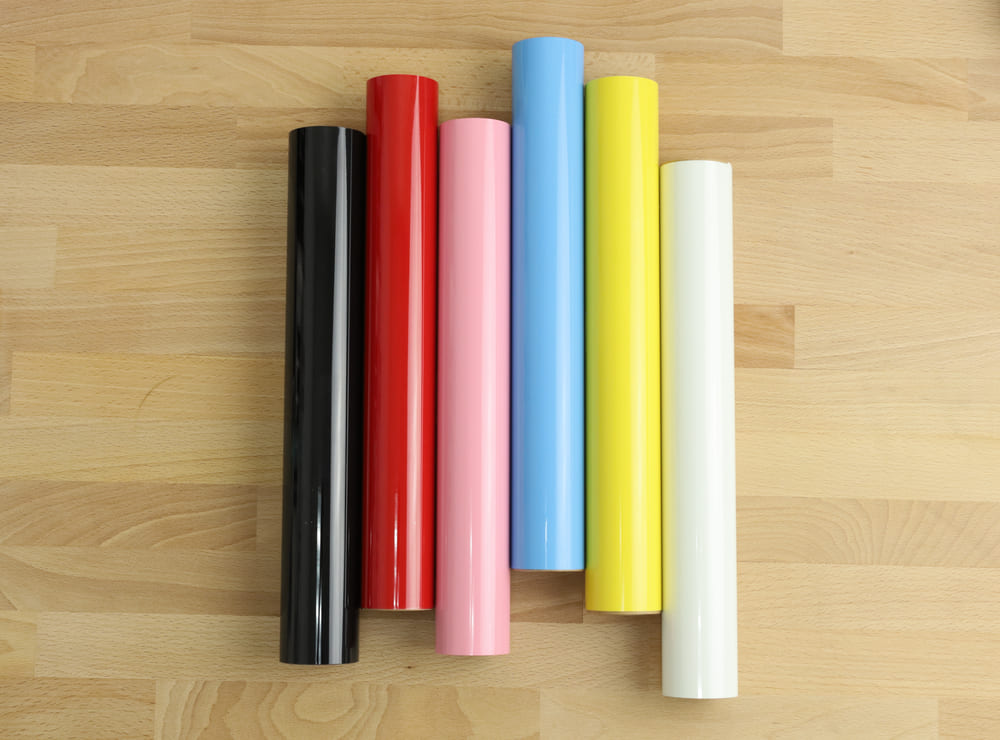
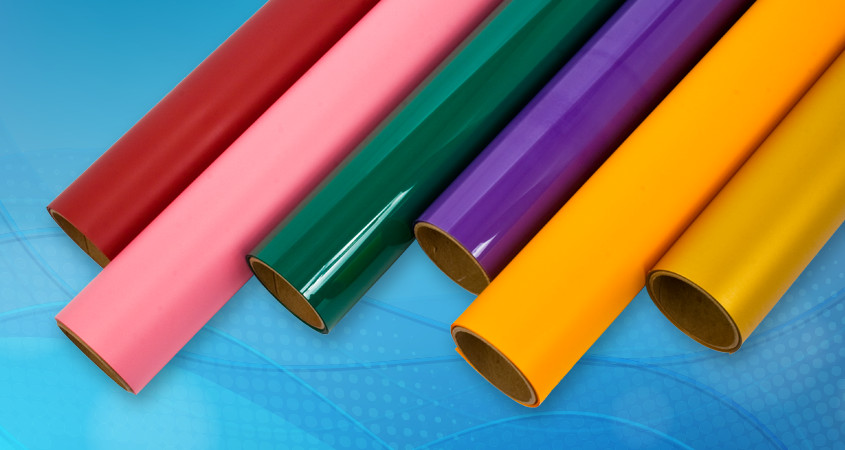
Vinyl sheets: Vinyl comes in a variety of sizes and types. They’re sold as single-color sheets or rolls, and you can also buy specialty vinyl such as glitter, holographic, reflective, and many others.
Weeding tool: You’ll use this to weed out the excess vinyl to bring out the cut-out pattern. Removing smaller pieces that you can’t weed by hand is especially useful.
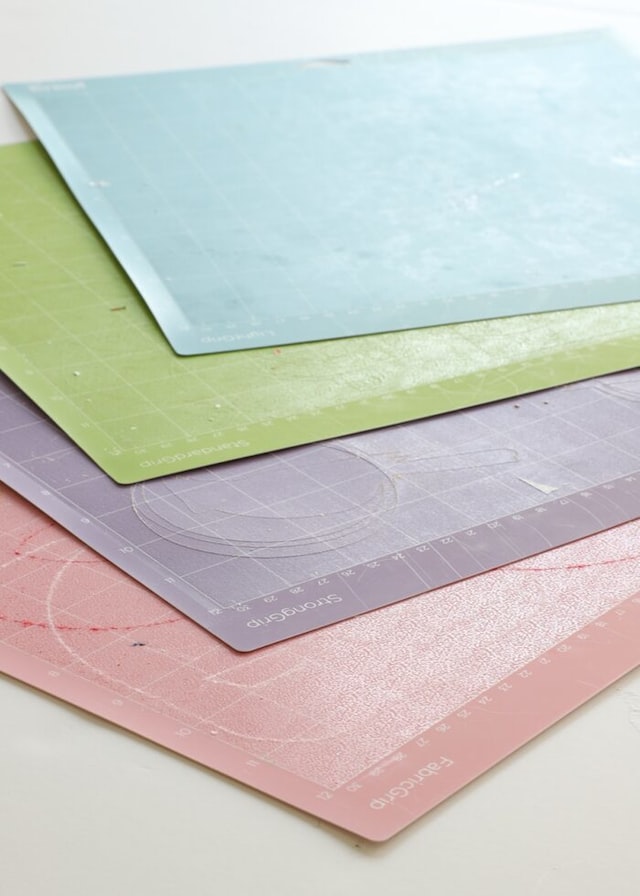
Cutting mat: Some types of vinyl may require a cutting mat, which you’ll lay the vinyl sheet on before loading it into the vinyl cutter.
Heat press: Much like DTF printing, a standard clamshell press is more than enough to apply your vinyl to the substrate of your choice.
Software: Design software is used for creating designs on your computer for the printer. Most vinyl cutters/plotters come with their own design software that is easy to use.
Cover sheet: This serves a similar purpose as protective sheets used for DTF printing in preventing the garment and vinyl from getting burned or scorched.
Comparisons with DTF Printing
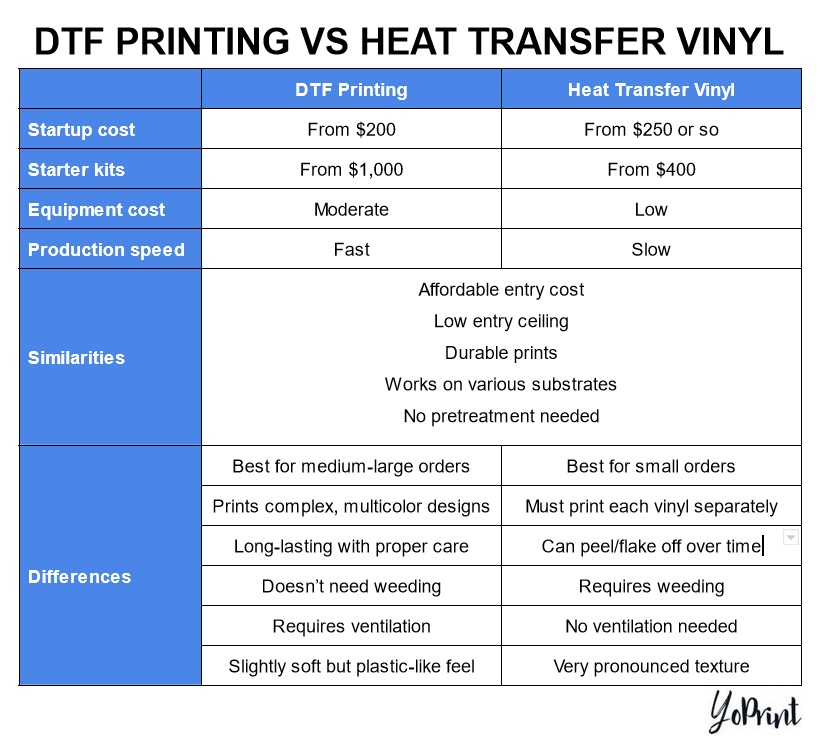
Knowing the difference between both heat transfer methods will help inform you which method suits your business needs best. Nevertheless, HTV’s pros and cons make some interesting contrasts with DTF’s.
Entry Costs
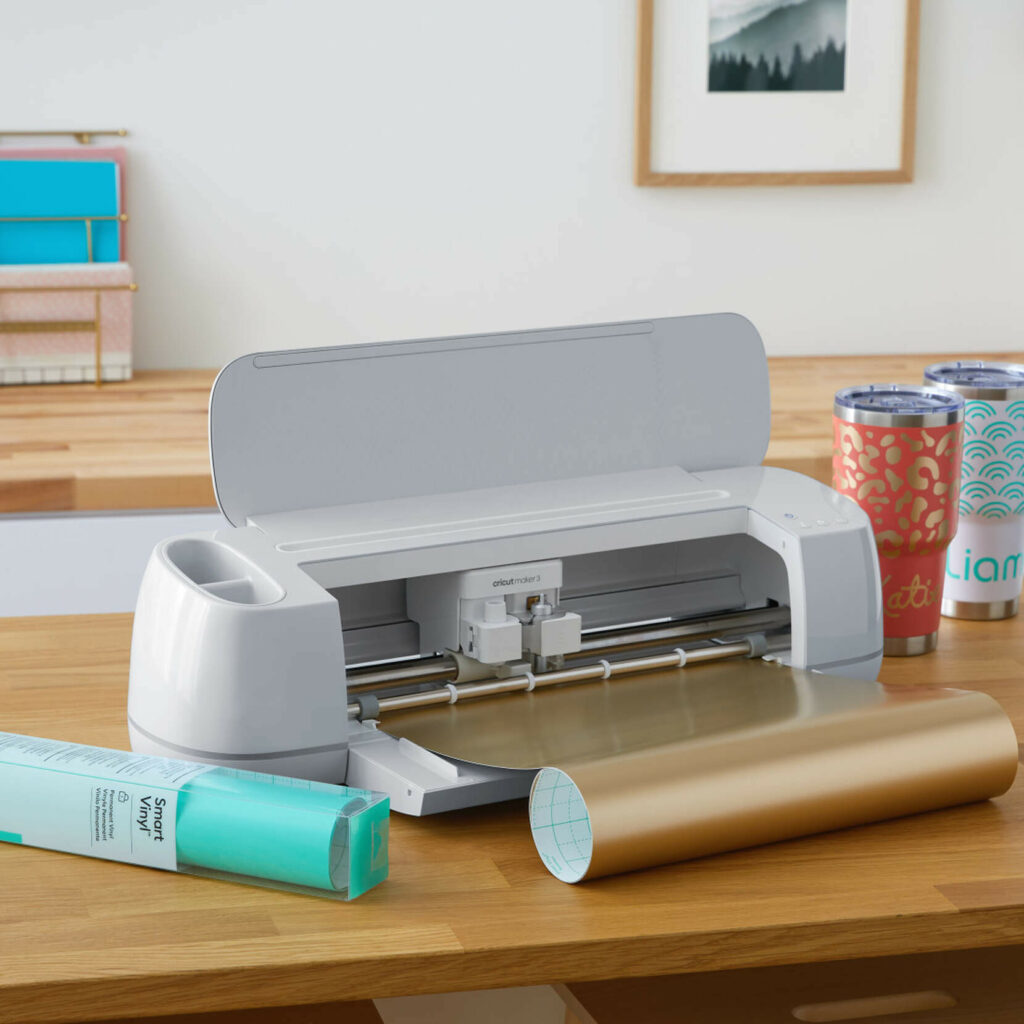
Starting with HTV is comparable to DTF printing, even if you don’t have something akin to converted printers. Most entry-level desktop vinyl cutters cost over $200, while newer ones (such as the Cricut Maker 3 or Brother’s ScanNCut DX series) are around $400 or higher. Brother and Cricut also have starter packages bundled with vinyl sheets, assorted weeding tools, and more. It’s just as easy to start with HTV as with DTF printing.
For mid-range vinyl cutters, you can expect prices to start from $2,000. For example, the Roland DG CAMM-1 GS-24 desktop cutter retails at $1,995, while its larger cousin – the CAMM-1 GR2-640 large format cutter – goes for $4,995. Vinyl plotters, such as GCC’s 52” Puma IV LX Vinyl Cutter Plotter, also cost $3,000 and above.
Handheld tools come in various shapes and sizes, from spatulas to weeders, and all offer handy ways to weed the excess vinyl or delicately handle your materials. A Cricut 3-piece starter tool retails for $15 (but is currently, at the time of writing, on offer for $8 only).
The advantage HTV has is that starter packages with a vinyl cutter are more affordable than most DTF printer bundles. Much like the Cricut package, even Brother offers a decent starter kit at almost $500. Contrast that to most DTF printing suppliers that sell starter packages from $1,000 and above – that’s twice the amount you’re paying with HTV.
It’s generally recommended that newcomers get started with HTV since it’s easier to get into with its faster printing process and lower overheads. Even so, with the availability of converted DTF printers and even dedicated printers for entry-level players, coupled with the vast amount of online resources at your fingertips, DTF can be as easy as HTV to start with.
Consumables
Comparatively, DTF printing and HTV have very affordable prices for consumables. But in the latter case, you’re spending less since you only need to purchase different vinyl sheets. You won’t need to pay for any inks, transfer films, or hot melt powder; your vinyl sheets combine the capabilities of all three!
HTV simply requires cutting the vinyl into the design you want, weeding out the excess, then using the heat press to apply it to the substrate. You can easily find out what suits your needs with many different vinyl types. Printable HTV also exists, allowing you to print out colorful designs directly onto the vinyl paper and cut them out with your vinyl cutter.
The problem with vinyl is that, unless you use something like printable HTV, you need to cut out separate sheets of vinyl if you’re making a multicolored print or one with a few specialty vinyl designs. It’s relatively easy to print a garment with just a single HTV color or style, but the cutting and weeding time increase as the design becomes more complex or colorful.
Production Speed
Production speed is where DTF printing shines compared to HTV. It might be true that HTV does require fewer expenses to start printing, but the time-consuming process of weeding can affect the production time needed. In DTF’s case, the printer will create your design, and you can immediately take it to the heat press and apply it to the garment with no weeding required.
DTF printing simplifies the process by customizing your design software and printer settings. Once everything is set up to your liking and calibrated to the needed settings, you can start printing multiple designs on multiple sheets of transfer film. Larger printers can save time and cost by printing multiple designs on a long, wide roll of transfer film. With proper quality control, you can easily have a batch of garments ready for shipping.
Simple HTV designs can reduce the time needed to weed excess materials. Still, you can’t repeat the same process for a large batch of prints, not unless you have a good amount of staff available who can help speed up the process. Even then, a tiny mistake in weeding can result in a wasted vinyl sheet. The precision needed ultimately becomes a detriment, which is why HTV is not ideal for bulk orders.
Versatility
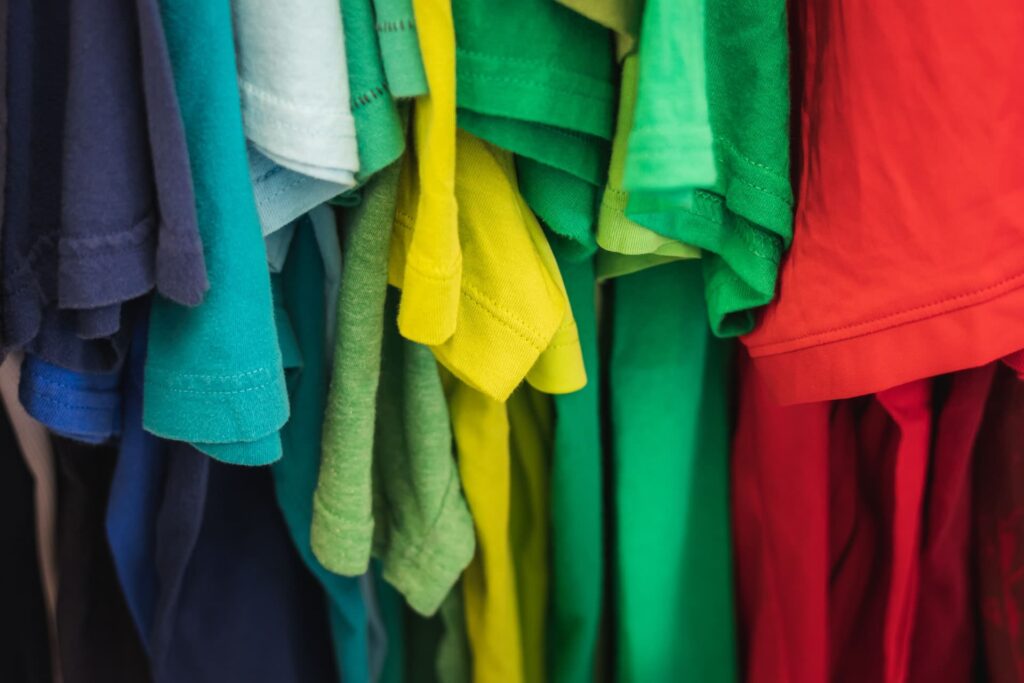
Just like DTF printing, HTV works on a wide range of substrates: cotton, blends, polyester, the works. The general simplicity of applying HTV to substrates, without having to do any printing, does make it easy to push out products quickly. The possibilities are endless, whether you’re printing on garments or expanding to cover mugs, signs, and other items.
For these non-garment applications, you’ll need to buy a special heat press for whatever specific purpose you need. Mug heat presses, for example, have a specially designed clamp that can fit a mug and hold it tightly for the heat press.
Print Quality and Durability
It might be tricky to tell the difference between an HTV print and a DTF one for the unenlightened. Both have a slightly plastic-like texture when you run your hand over the print. Still, HTV’s one is more prominent owing to how it was made; DTF prints are made from water-based CMYK inks that are somewhat similar to DTG inks.
When using a heat press to apply the DTF print to the garment, the heat and temperature generated from the heat press drive the inks from the film and onto the garment’s surface. A second heat press is recommended to ensure that the inks are driven into the garment’s fibers, helping to strengthen its durability and wash fastness.
The result is a decently soft hand that will last a long time; it won’t easily crack or stretch, especially after a second press. Factors such as the amount of ink or hot melt powder applied can also influence the overall print quality of DTF prints. Not all hot melt powders are created equal; some types may have different characteristics that affect the feel of the print.
With HTV, all you need to do is heat press the vinyl to the substrate, peel the carrier (whether it’s a hot, warm, or cold peel), and place the substrate elsewhere to cool. There’s no need for a second press; excess heat can damage the vinyl, causing the adhesive to weaken, and the print is likely to peel off.
In fact, your primary concern with HTV stems from the vinyl’s likelihood of peeling off or flaking over time. While it’s durable and fade-resistant on its own, the vinyl is “sitting” on the substrate’s surface, unlike DTF prints, where the ink has been “pushed” into the fibers on the substrate’s surface.
Making the Right Choice
The differences between DTF printing and HTV are quite clear, even though both are derived from the same principles of heat transfer methods. Their applications are tailored to specific types of customers and order sizes, with their strengths and weaknesses lending themselves to what they work best.
Though still considered in its infancy, DTF printing is gaining traction as a disruptor for its ability to print durable, complex, multicolored designs at a low startup cost. Its ability to scale while keeping overhead costs relatively low, as well as its impressive versatility on various substrates, make it ever so popular to sell custom-made garments and other items in bulk.
HTV, on the other hand, makes a great choice for newcomers who want to start simple and with a much lower overhead cost. With your only investments going to a myriad of vinyl sheets for various types of designs, and a much lower skill ceiling, HTV caters to small-scale printers who want to make unique merchandise on a wide range of garments and other items.
Frequently Asked Questions (FAQ)
Why can’t I use DTF transfer films for HTV printing?
The simple reason is that HTV involves cutting vinyl sheets into the desired design, while DTF prints the design onto the transfer film with a printer and inks. Moreover, DTF transfer film is transparent on both sides, while vinyl has one colored side while the other side is the adhesive carrier.
Can I combine DTF/HTV printing with other printing methods?
You could potentially create, for example, single-color screen-printed lettering with colorful DTF elements surrounding it. However, this leads to one major downside: you’ll increase your overall costs significantly since you’re using two vastly different printing methods with vastly different consumables and technology to create their prints. It’s why you don’t see garments that use combined print methods, with the exception of embroidery.
How about combining DTF and HTV printing?
You can, but your limitation in this regard (besides the aforementioned increase in overhead and operational costs) is that HTV’s weeding requirement can end up stalling your DTF printing. If the weeding is not done correctly, you’ll have a lot of garments lying around waiting to have the vinyl applied to them. If not addressed, you could delay your entire production schedule.
Can I repurpose dye sublimation equipment for HTV printing?
If you have already been printing dye sublimation products using “cut and sew” equipment, you can easily retool your setup to print and prepare HTV designs. Cut and sew dye sublimation (or dye-sub) relies on cutting directly onto the substrate to create the garment from scratch, which is quite similar to HTV’s printing process. You can easily repurpose your dye-sub equipment to cut on vinyl and proceed with the weeding and heat pressing as usual. Here’s one helpful demonstration on YouTube.