Heat transfer printing methods have been around for a long time and consistently deliver excellent results for almost any design and substrate. While dye sublimation printing remains a popular option, DTF printing’s appeal is beginning to draw more and more attention, mainly as technological advances help make new printing methods much more interesting for various reasons.
Direct-to-film (DTF) printing has surprised the industry with its simple and straightforward printing process, no need for weeding (unlike vinyl heat transfer printing), and outstanding overall durability. Dye sublimation and DTF printing share several striking similarities, particularly that they’re derived from large format printers that can print multiple designs simultaneously.
Given their shared heritage and DTF’s growing popularity, this isn’t to say that dye sublimation will eventually be phased out. On the contrary, dye sublimation remains a crucial component of the printing industry owing to its exceptional photographic-quality output. DTF printing remains a new, competitive choice that still has a ways to go if it wants to catch up.
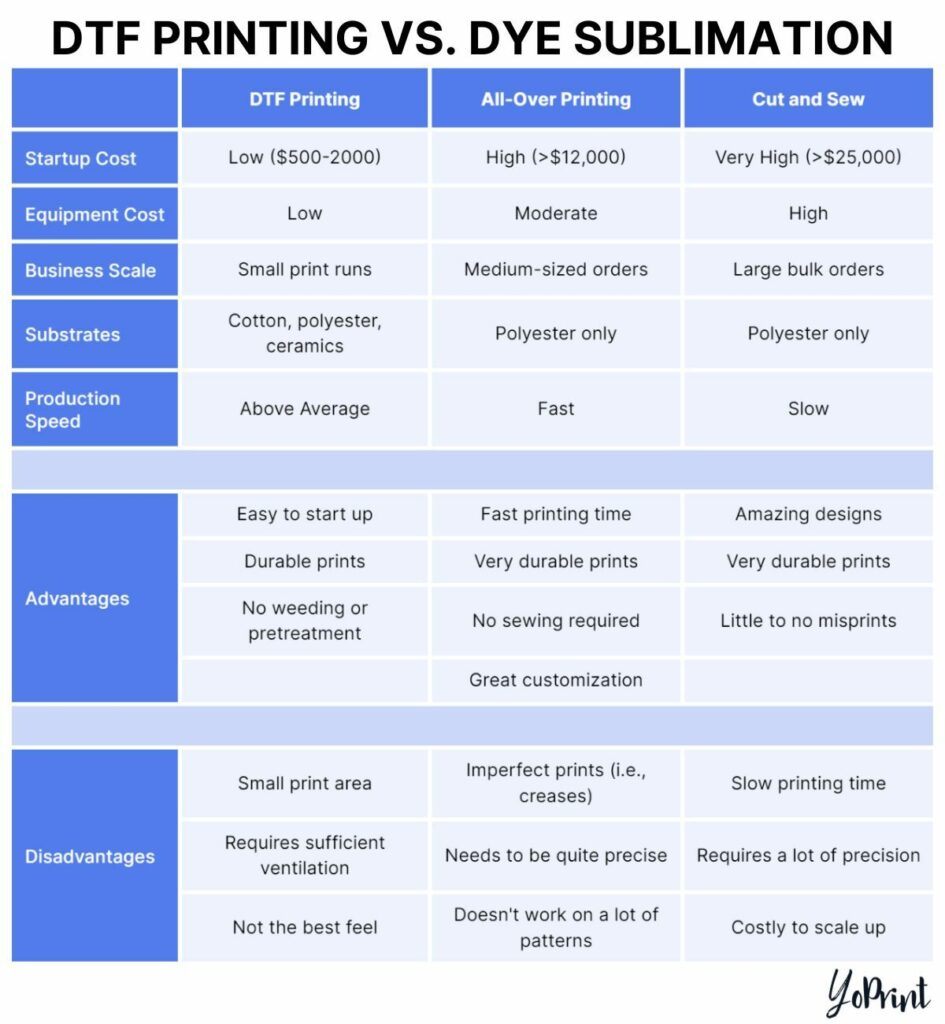
Which would you be ideal for your business? We’ll give you a breakdown where we show the pros and cons of DTF printing and dye sublimation. We’ll look specifically at cut and sew and all-over printing, the two most prominent forms of dye sublimation printing. From there, we’ll compare the three and let you decide which one works best for you.
A Brief Primer on DTF Printing
Direct-to-film printing (simply DTF printing) also involves printing on a special transfer film and then transferring the design from film to substrate with a heat press. DTF printing only applies the design to the surface of the substrate using a hot melt powder.
This hot melt powder allows the design to bond permanently to the substrate’s surface. It’s applied to the inks while still wet; heating turns it into an adhesive that allows the design to adhere to the substrate’s surface. Once it cools down to room temperature, peel off the film carefully to finish the process.
DTF printing’s core advantage is its versatility on many substrates. Whether it’s garments, mugs, or even signboards, DTF printing allows you to expand your customer base with highly customized products. Moreover, the printed designs are durable, with no cracks or issues caused by stretching. With proper care, a DTF print can last a considerable time.
DTF printing is also a cost-effective method due to how affordable it is to purchase consumables and equipment. Starting with DTF printing is nowhere as cost-prohibitive as direct-to-garment (DTG) printing, allowing you to maximize your profits while keeping costs relatively low. You can easily go for short-to-medium print runs with no issues with your profit margin.
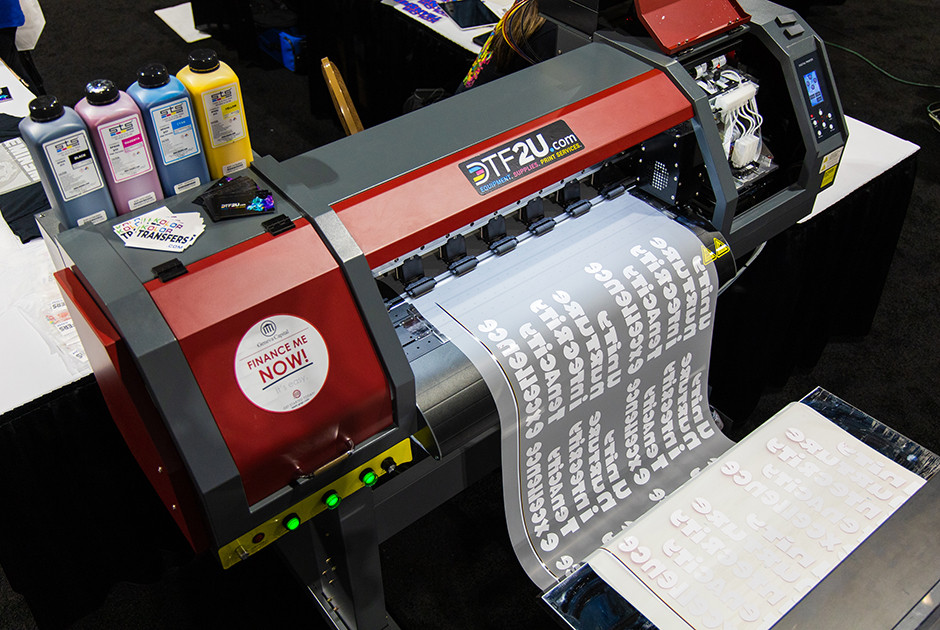
DTF Printing Equipment
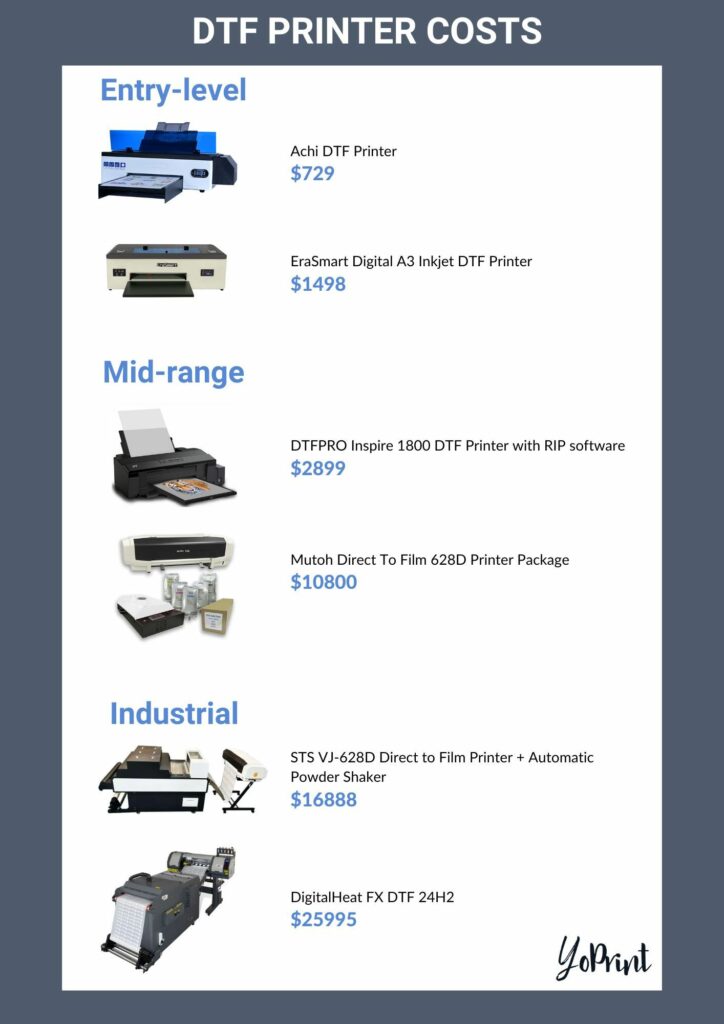
DTF Printer: Without it, you won’t be able to print any of your designs. If you’re new to this, you can purchase an affordable entry-level converted printer, allowing you to cater to short print runs. Converted printers have caveats, though, requiring more hands-on maintenance to keep them running optimally.
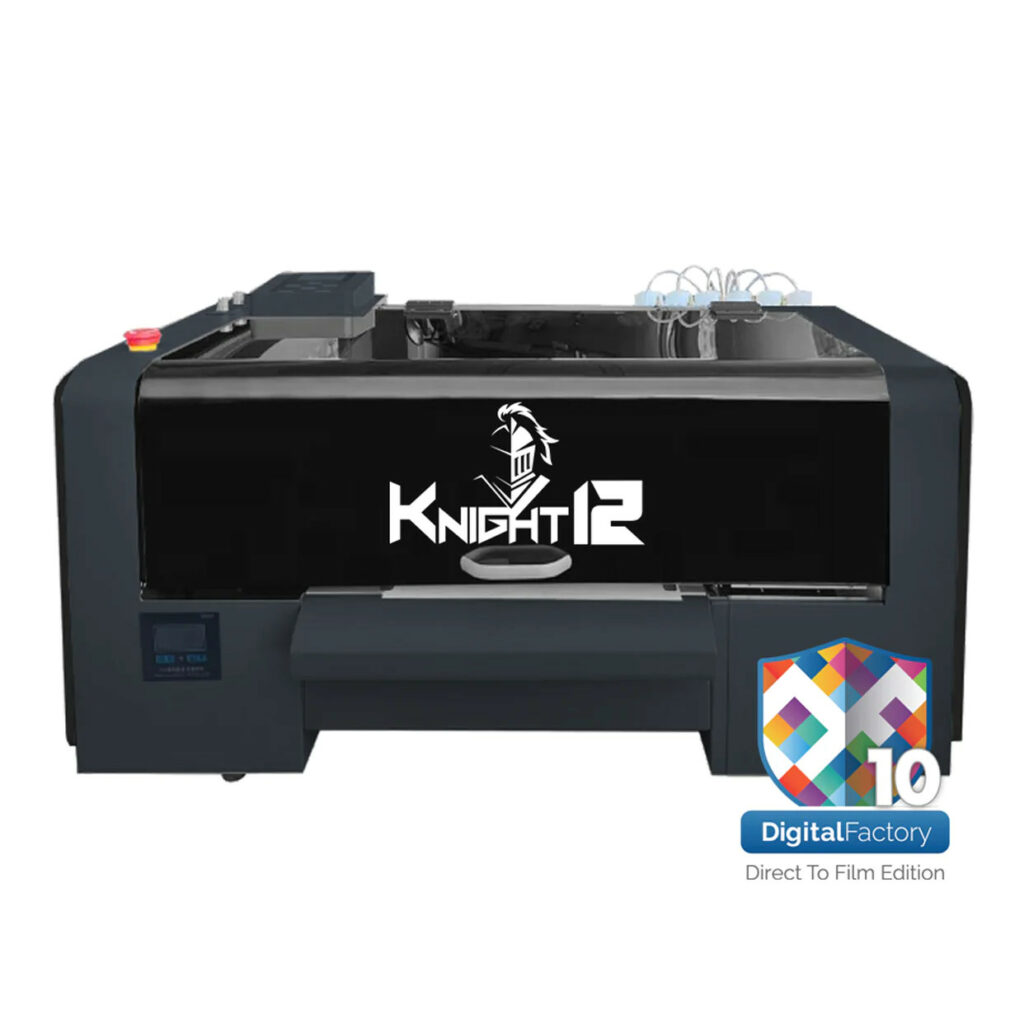
Mid-range (and industrial-grade) printers are costly but can boost productivity since they can print on wider transfer rolls. These are best suited for medium-to-large print runs. Most of these printers also incorporate automated systems that perform specific tasks; one of the more common components includes automatic powder shakers to apply the hot melt powder to the printed film.
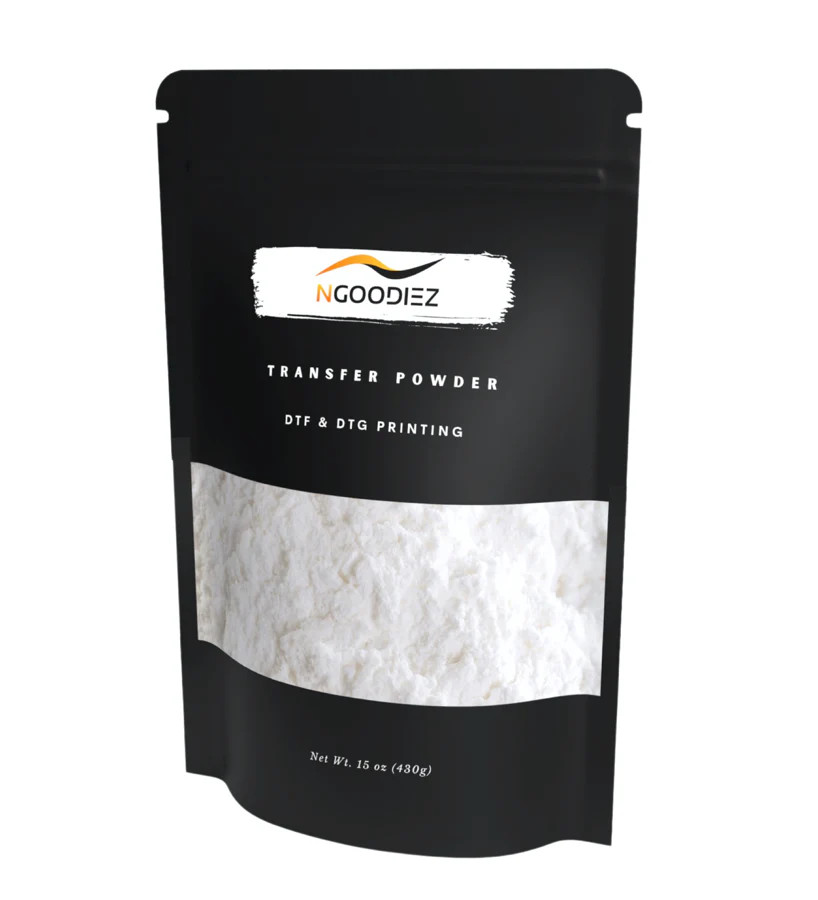
Hot melt powder: The hot melt powder needs to be applied to the design while the inks are still wet. Once melted, they become an adhesive that enables your design to stick to the garment’s surface. The overall feel of the print can be affected by how much powder is applied, its general properties, and even the surrounding area’s climate.
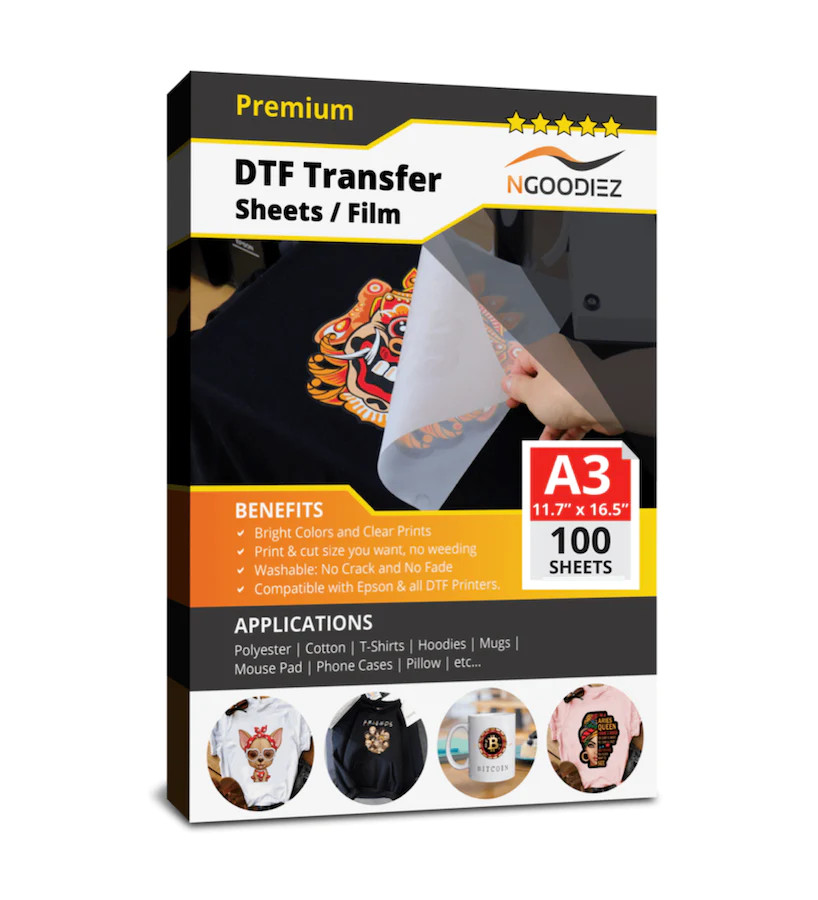
Transfer films: Made from polyethylene terephthalate (PET), you can buy these films in sheets or rolls. You’ll print your designs – and apply the hot melt powder – onto these.
Software: Design software and a raster image processor (RIP) are needed to get your designs from your computer to the printer. The former allows you to create the design, while the latter provides detailed instructions to the printer on how to print out the design.
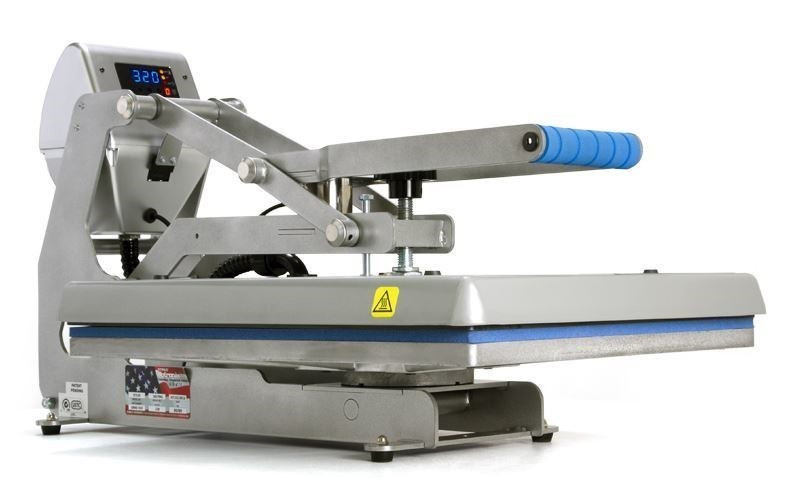
Heat press: You don’t need a big heat press since DTF prints are usually small. Place the transfer film with the printed design on top of the garment, then apply the heat press to transfer the design to the substrate. You’ll need to adjust the temperature and pressure settings to get an ideal print.
So Why Consider DTF Printing?
DTF printing gives you quite a few advantages, but it also has its share of drawbacks you’ll want to consider.
Low Startup Costs
Entry-level DTF printers mainly comprise converted inkjet printers. These inexpensive printers are converted from regular desktop inkjet printers, hence the name. Converted printers are calibrated to print on DTF transfer films and use DTF inks, as regular CMYK inks don’t work. You should be able to get one for as low as $600 to $2,000 from various online sellers.
Thanks to various online tutorials, entry-level printing is relatively easy to get into. You can quickly start printing in less than a day, thus allowing you to start planning on your business and the eventual return on investment (ROI).
For larger industrial-level setups, you can purchase a complete DTF printing machine with built-in automated systems (like the DigitalHeat FX DTF 24H2 printer) for upwards of $15,000 or higher. You can even find mid-range printer packages going for $10,000 and above if you’re lucky.
Affordable Consumables
On top of how affordable it is to start with DTF printing, consumables – from the transfer films to hot melt powder bottles – are also affordable. If you look around, you can find and purchase 500ml bottles of CMYK ink for just $12 per unit. Transfer films, in packs of 50 sheets, can go as low as $30 or so, while transfer rolls (11.81″ x 328 ft) can go for $150 or so. Prices may vary depending on the quality of consumables, as no two items are the same.
You’ll still have to take note of potential compatibility issues when it comes to using other consumable brands with your equipment. As long as you perform a test print beforehand, you can easily avoid issues with problematic prints.
Decent Output and Quality
You can easily print 15 to 30 garments in an hour with the right setup for entry-level printers (30 or more for large-scale printers). Not having to prepare screens or pretreat garments helps decrease overall production time, even when you need to cut out the printed designs before heat pressing them. You also don’t need to weed out your designs like vinyl transfers; just cut the design out, heat press it to the garment, and you’re good to go.
Printed designs have a relatively soft but plastic-like finish when you feel them. It might not be as smooth as a DTG print, but it’s pretty close. You can hardly tell the difference if you print them onto polyesters or other artificial fibers.
However, the prints are durable; try stretching and contorting the design as much as possible, and you’ll find the design retains its original shape. They can also last multiple washes, just as well as a direct-to-garment (DTG) print; it’s possible to see the design last more than 50 washes if the print is applied correctly.
A second heat press, with a finishing sheet over the print, is also recommended to help improve the design’s overall durability. Doing so allows the adhesive and inks to set even deeper into the garment, giving it a more durable finish.
Versatility
DTF prints are also highly versatile; you can apply them to cotton, cotton blends, polyester, rayon, and silk – the possibilities are (almost) limitless! All you need to do is set your heat press to the right temperature to prevent burns, then apply the design to the garment as usual.
You’re not just limited to garments only. If you want to print on ceramics and metallic surfaces, DTF printing can do that, too. It’s easy to transfer designs onto virtually any surface, regardless of their shape. You only need a special heat press to apply prints to mugs and other items.
Additionally, you can stock up on extra printed films and then sell them separately. If you have customers who’d like to apply prints you’ve made to their personal items, you can sell your excess prints to them. You can store them in a folder or some other secure storage media (away from dust and other particulates) and sort them nicely in a drawer or cabinet for future use.
Other Considerations
If you’re starting your DTF printing business from home, you must remember that your printer will need to be placed in an area with proper ventilation and humidity. Any changes to the overall climate where the equipment is located can profoundly affect your overall print quality. Under poor conditions, the inks can dry and clog up the print heads. This might lead to banding issues in your prints, reducing their overall quality.
That’s not all: melting the hot melt powder to be used as adhesive can release harmful chemicals that could cause debilitating effects on your health (and that of your loved ones if you’re working from home). These health issues can be further compounded if there’s poor ventilation throughout the working area. You might have to spend more on equipment to vent these harmful chemicals out of the house.
While most consumable manufacturers claim that their products are made without dangerous chemical components, it’s still important to put your safety (and that of your staff) as a top priority.
The Basics of Dye Sublimation
Before we discuss cut and sew and all-over printing, let’s look at how dye sublimation works.
Dye sublimation (or dye-sub) is named after the science of sublimation, where a solid turns into a gas without transitioning into a liquid beforehand. In this case, heat and pressure cause special dye sublimation inks to go from solid form to gaseous form using a heat press. The gaseous ink will then turn back into a solid, being absorbed by the substrate and becoming a permanent part of the substrate.
Some industry experts suggest it isn’t dye sublimation that’s occurring but rather dye diffusion. This is the process of heating dyes to diffuse into a substrate. However, “dye sublimation” has long since gained traction, so the name remains widely used.
Dye-sub is considered a heat transfer printing method as it involves transferring a design from a special transfer paper or film onto a substrate. The inks are printed onto this transfer paper, positioned on top of the substrate, then pressed down onto the substrate with a heat press. The properties of the transfer paper allow the inks to sublimate and be absorbed by the substrate.
The main difference between dye sublimation and other heat transfer methods is that designs are not applied to the surface of the substrate. As mentioned, the inks turn from solid to gas, then back to solid form as absorbed into the substrate in the gaseous state. You won’t be able to feel the design at all, as it’s embedded in the substrate.
And while it’s great to be able to print permanent designs that don’t easily wash out or fade, the one major caveat is that dye-sub only works with polyesters or items with a polyester/polymer coating. You can use polyester/cotton mixtures at a 50/50 ratio, but note that the blends affect the color vibrancy.
Dye-sub is prominently used in all-over printing and cut and sew, which we’ll discuss shortly.
So What is All-Over Printing?
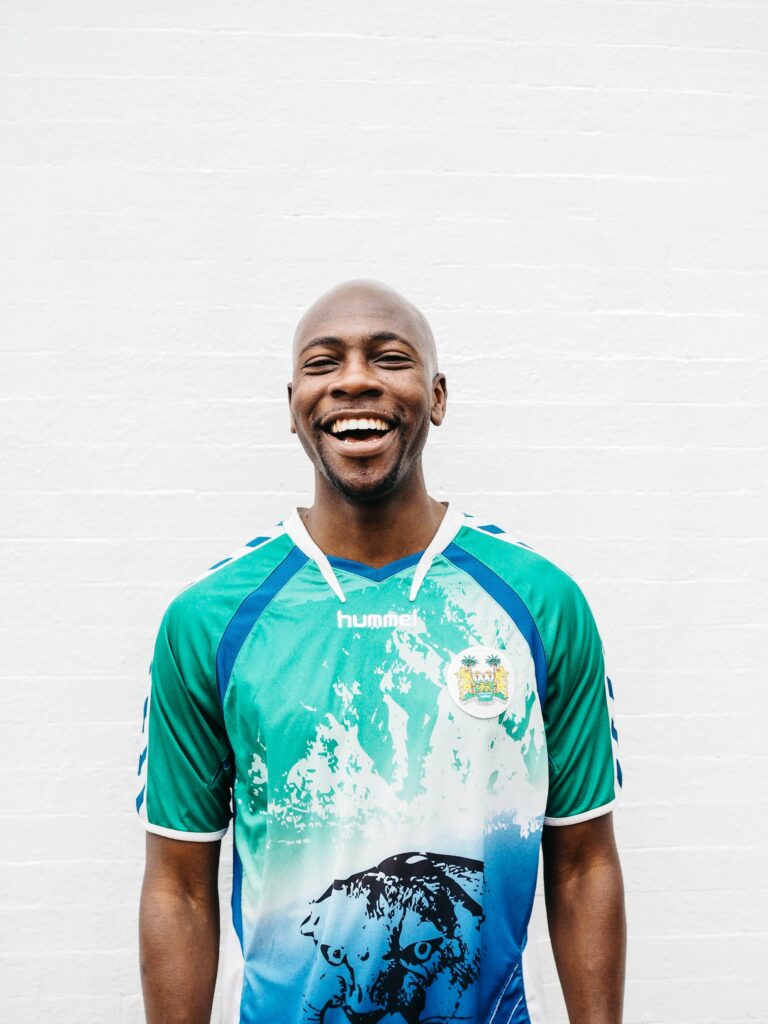
All-over printing is a technique where a printed design covers every inch of the garment. While this means you can effectively print a large design on the entirety of the garment, it doesn’t cover every area, no matter how well you lay the garment onto the printing surface.
To make an all-over print, you’ll print your design on a large transfer sheet that covers the entire garment. Next, lay the garment on a flat surface, then apply the design to it using a heat press. You’ll then need to peel off the transfer sheet and cut off any excess that doesn’t fit the garment.
All-Over Printing Equipment
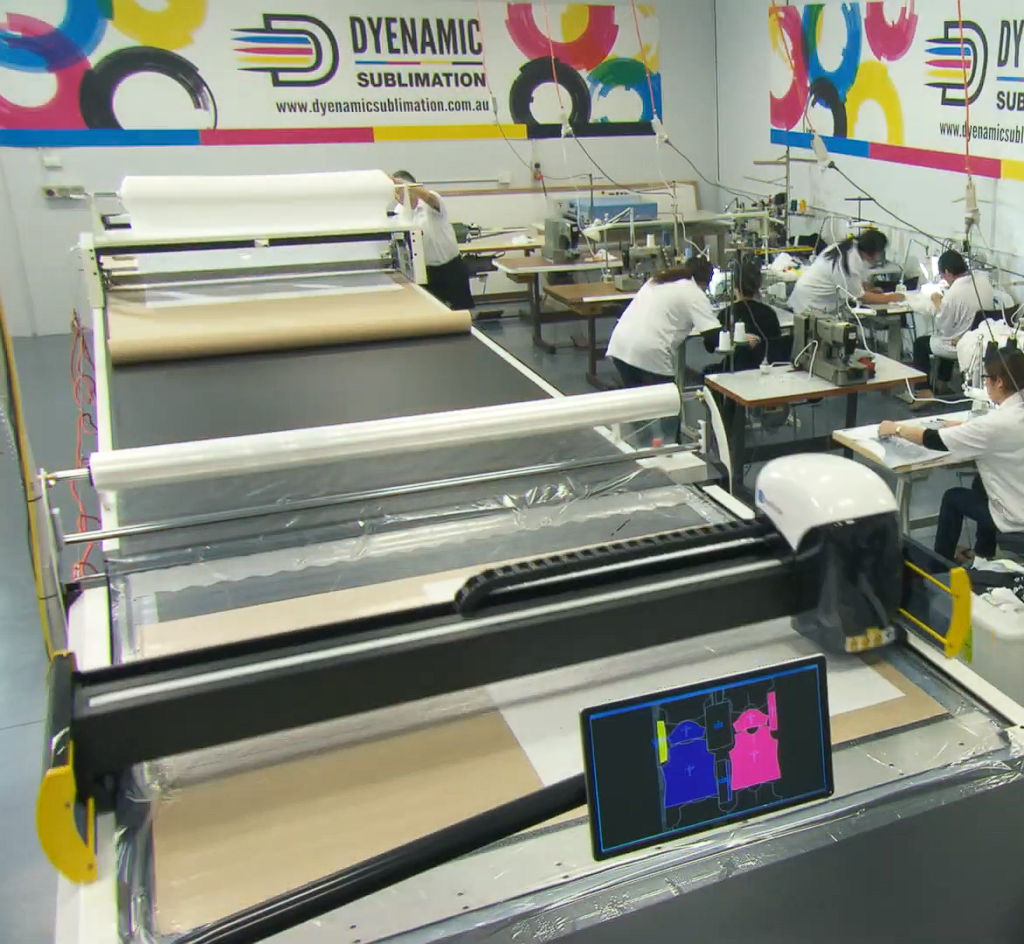
Large/wide format printer: This is critical to printing your designs. These printers are big enough to support transfer sheets that cover the entire garment, including the bleed. The printer also uses dye-sub inks for the design to permanently adhere to the garment after the heat press.
Transfer sheets/rolls: This printing surface will carry your designs. When heat and pressure are applied, the inks will sublimate from solid to gas, allowing the inks to be permanently absorbed into the garment.
Software: Design software and a raster image processor (RIP) are needed to get your designs from your computer to the printer. The former allows you to create the design, while the latter provides detailed instructions to the printer on how to print out the design.
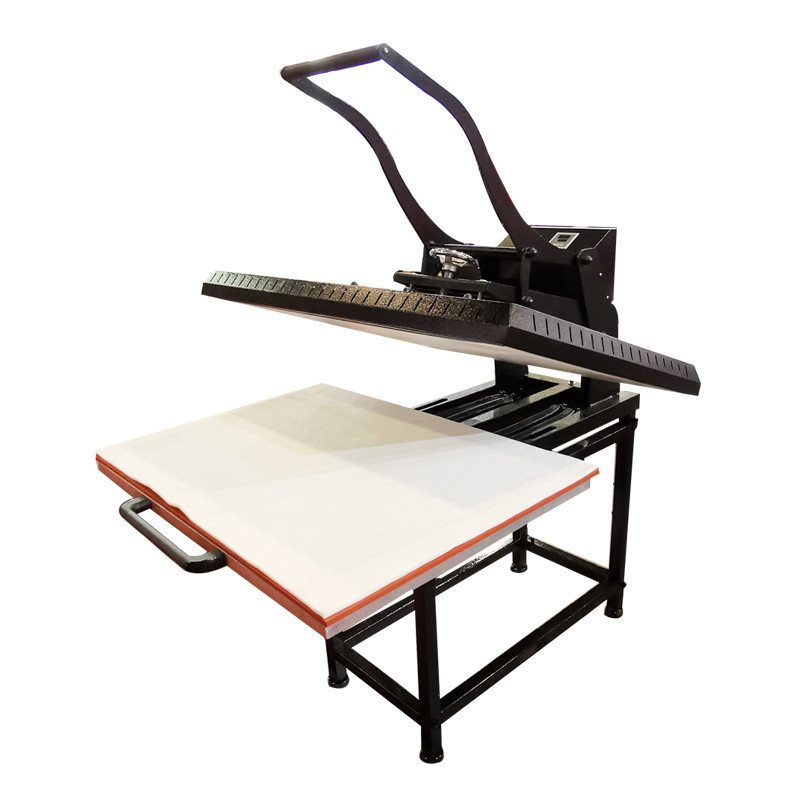
Large heat press: Your heat press needs to be large enough to accommodate the garments you’re printing on. A standard heat press (i.e., 38 x 38 cm) you’d use for small designs isn’t going to cut it; you need to ensure consistent heat and pressure are applied to the garment to allow the inks to sublimate and be permanently bonded to the garment’s fibers.
Scissors/cutting board: Scissors/cutting board: You’ll need these to cut out any excess material (the bleed as mentioned earlier), where necessary.
Pros and Cons of All-Over Printing
As all-over printing is a relatively new technique, you can expect a few areas where all-over printing doesn’t shine.
Fast, Excellent Results
All you need is to line up the design print to the garment, apply it with a heat press, and you’re just about done! With a trained staff handling the placement and printing process, you should be able to print 10 to 15 shirts in an hour, if not more. For small orders, you can finish them up within the same day; no stitching is needed.
At the same time, you’ll be outputting soft, durable, and beautiful prints without sacrificing quality throughout the printing process. Thanks to the use of dye-sub printing methods, you can rest assured that your garments can last a very long time if they’re well taken care of.
If you’re catering to bigger bulk orders, though, you’ll need to scale up accordingly – and that can mean more costs going to more equipment and staff to meet your output requirements. If you don’t plan ahead, that could take a toll on your overall profit margin.
Great Customization
Because you can deliver great-looking prints for customers at no extra cost, you can easily cater to many different design requests from your customers. The freedom you have with customization (so long as it’s limited to polyester garments) means you have a substantial edge over the competition.
Repetition
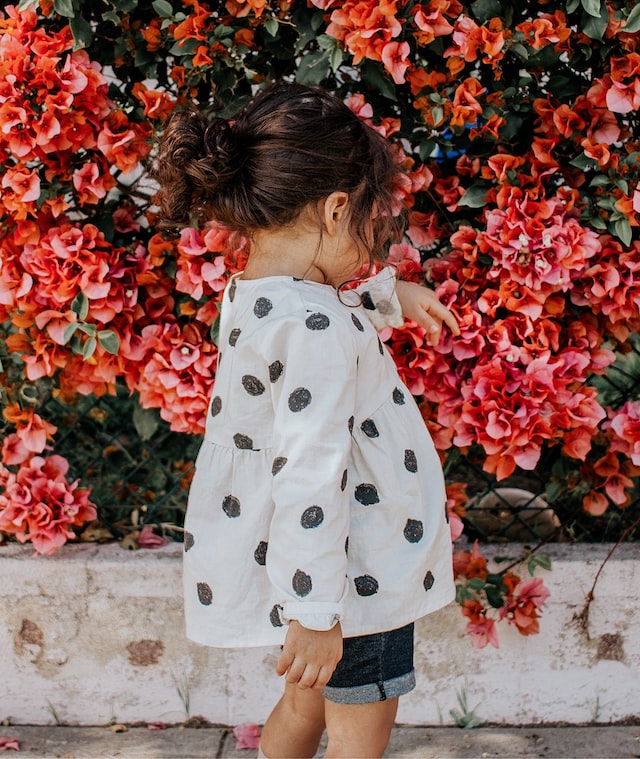
All-over prints work well for designs with repeating elements (such as polka dots and stripes), distressed looks, retro prints, and block printing. It generally applies to one-sided all-over prints, but results may vary. However, designs that require precision in color placement may not work well since the colors, or the garment itself may shift during printing.
Limited Versatility
Dye-sub printing only works on polyesters, polyester blends (with at least 50% polyester), or polyester/polymer-coated garments. This is because of a limitation to the printing process. When the inks sublimate from the heat, it also causes the synthetic fibers in polyester to “open” up and allow the gas to penetrate the fibers. As the garment cools, the inks become solid again while the polyester fibers “close.” This ensures the inks and the fabric become chemically bonded at a molecular level.
The inks will be wiped out if you wash the garments for cotton and other similar fibers. This happens because inks are only bonded to the surface of the cotton garment. Since the inks are water-based, they’ll get washed off quickly.
Imperfections in Print
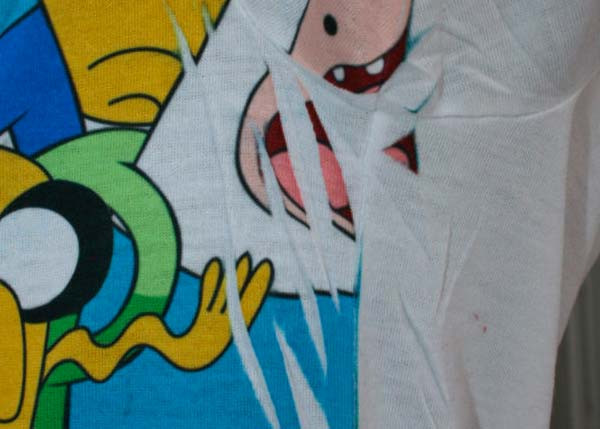
When preparing a design for all-over printing, you’ll need to incorporate an additional negative (or excess) space to the border of the design. This is called the bleed. It acts as a safety net, as any extra print on the garment can be used to cover up any misprints and create a seamless appearance. You can use the bleed to create a matching wrap-around for double-sided prints.
Despite having the bleed, if creases are still present on the garment – which can still happen even when you lay the garment nice and flat before printing – you won’t be able to fix those with the bleed. It helps to heat press the garment before printing, but it won’t eliminate all those issues.
Imperfections can generally be seen in the garment’s seams, edges, hem, and underarms. These issues often occur because the printer can’t effectively reach those areas, such as the ones illustrated in the image below. Not even a bleed can help to rectify this problem.
Looking at Cut and Sew
Cut and sew is another printing method that’s been around for a long time. Unlike all-over printing, “cut and sew” is a process where you print the garment before you make it. This means you’ll print out the whole garment from the “raw” fabric itself instead of applying a design onto a pre-made garment.
Like all-over printing, the design is first printed on dye-sub transfer sheets, then sublimated onto the substrate. You’re not applying the design immediately onto a pre-made garment. Instead, you’re assembling the entire garment from scratch.
Cut and sew is best used for large garment orders that require precision and quality. Unlike all-over prints that are susceptible to imperfections such as creasing and misprints, the cut and sew method ensures that every garment made is according to the customer’s specifications. Excellence is guaranteed, but that does come with a price.
Cut and Sew Equipment
Large/wide format printer: Industrial-grade printers prepare each component for cutting and sewing a complete garment. Multiple printers are needed to cater to a wide array of jobs. Once printed, you must cut out the transfer sheets into their individual pieces before being taken to be heat pressed.

Cutting machine: A large-scale, automatic cutting machine can help accurately cut individual pieces. It’s possible to do it manually, but it’s a very time-consuming and laborious process that doesn’t guarantee accurate cutting results.
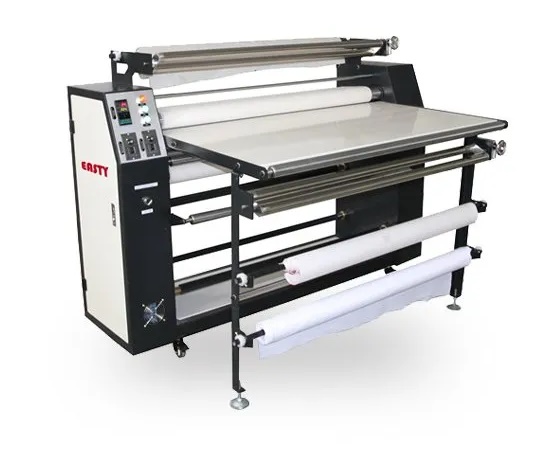
Rolling/rotary heat press: The cut pieces are placed on a conveyor belt with the garment pieces, which are rolled together under consistent heat and pressure to prep the prints and apply the design to the pieces. Once sufficiently dried, they can be assembled by sewing all the pieces together.
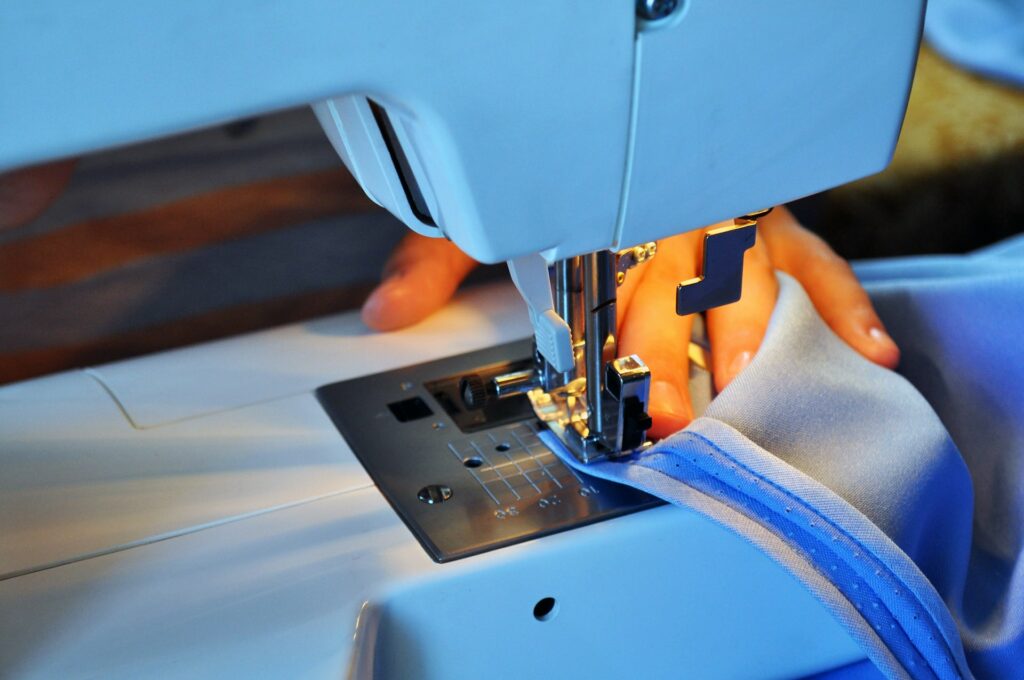
Sewing machines: Owing to the sheer number of garments you’ll be making, a dedicated team to sew the garments will be needed. That also means you’ll need a lot of sewing machines.
Software: Design software allows you to design the prints, while RIP software will ensure the printer knows how to print out the design in the right colors and configurations. Additionally, before completing any orders, you’ll need to create a garment prototype first to ensure that all the specifications are correct per the customer’s request.
Once it’s made, special plotting software is used to take the exact measurements of the prototype, then transfer it to a system where you can fine-tune its size and other specifications.
Pros and Cons of Cut and Sew
While it delivers incredible results in terms of print quality, cut and sew’s strengths also contribute to some of its flaws.
Unparalleled Excellence
Cut and sew delivers the best-looking dye-sub prints compared to all-over printing. They look and feel great, and you will hardly find any glaring misprints or other issues that can affect the garment’s quality. Plus, you still enjoy the perks of dye-sub printed garments: durable designs that last a very long time while remaining soft to the touch.
Substrate Limitations
Unfortunately, being derived from dye-sub printing, you’re still going to be limited to polyester garments, as well as polyester blends and those that have a polyester/polymer coating.
Very Labor-intensive
Getting top-notch print quality also has one major drawback – the time and effort needed to complete a batch of garments. Quality checks are required as early as the prototyping stage to ensure that you meet the customer’s requirements. From there, precision takes precedence to deliver ultimate satisfaction for your customers – and to do that, you’ll need time to get the job done right.
Daunting Investment Barrier
Scaling up will also need a lot of thought put into it. Just because it guarantees a substantial profit margin in the future doesn’t mean you can just jump into it willy-nilly. You’ll have to factor in equipment costs, labor wages, overheads, suitable facilities, and the right amount of ventilation – the list goes on. This is not for the faint of heart nor those without a comprehensive plan.
Which One’s For You?
We hope that you’ve got a complete breakdown of what DTF printing, all-over printing, and cut and sew have to offer through our in-depth article. The question you’ll now need to ask yourself is which one of these will work best for you and your business. To reiterate:
DTF printing is great for small print runs thanks to its low startup costs, affordable consumables, and decent print quality for small, complex, and multicolored designs. Printing out a good deal of garments is easy, and you can stock up on preprinted films to sell alongside your custom-made garments.
All-over printing allows you to print on an entire garment side and is best suited to medium-sized orders that use repeating patterns. You’ll get great durability and color vibrancy from your prints, but care is needed to prevent issues of misprints from happening often.
Lastly, cut and sew is best for large-scale bulk orders where quality is a major concern. You’ll be assembling amazing custom garments tailored to the customer’s preferences, but it does take a lot of time and effort to complete a batch. The labor-intensive nature of cut and sew means it can take a while for it to pay for itself.
Frequently Asked Questions (FAQ)
Can you use DTF inks in place of dye-sub inks for dye-sub printing?
No, you can’t. Dye-sub inks were specifically formulated to be able to sublimate into the garment’s fibers. Using DTF inks might not produce the desired results, or you might end up with a DTF print instead.
Can you use DTF films instead of dye-sub transfer sheets for dye-sub printing?
Yes, you can, but you’ll need to tweak the time and temperature settings when you take it to the heat press.
I’ve seen some all-over prints that have no issue printing on hard-to-reach areas. Is that possible?
Yes, but it’s not as easy as you might think. Generally, no matter how hard you try, you’ll find it extremely difficult to adjust the garment and give you the best amount of space for a flawless print. Some shops tackle this by applying basic cut and sew techniques: print out the design, cut it out, then sew it to where it needs to go while making sure to line it up with the all-over printed design. This may be done before or after the all-over print, depending on the type of job.
Can I skip making a prototype for a cut and sew order?
It’s best if you don’t remove this process, as you’ll need the garment’s overall design and the exact measurements specified by the customer. Without a prototype, you won’t be able to iron out any kinks in the overall layout, and your cut and sew section may get confused without accurate instructions on assembling the garment. Believe us when we say it’ll only end badly.