You’ve undoubtedly seen how embroidered designs can make a garment look fantastic. Whether it’s a simple sewn-on patch, an intricate floral design, or a beautiful multi-colored quilt, the way so many threads can come together and seamlessly (no pun intended) creates a unique design is very impressive.
Now that you’re starting a print shop or are in the middle of expanding your services and/or business, you’d probably be wondering if it might be a good idea to add embroidery to your repertoire. But how do you turn threads into beautiful pieces of art that go onto your garments? Here’s a guide that offers you everything you need to know about embroidery for apparel decoration.
What is Embroidery?
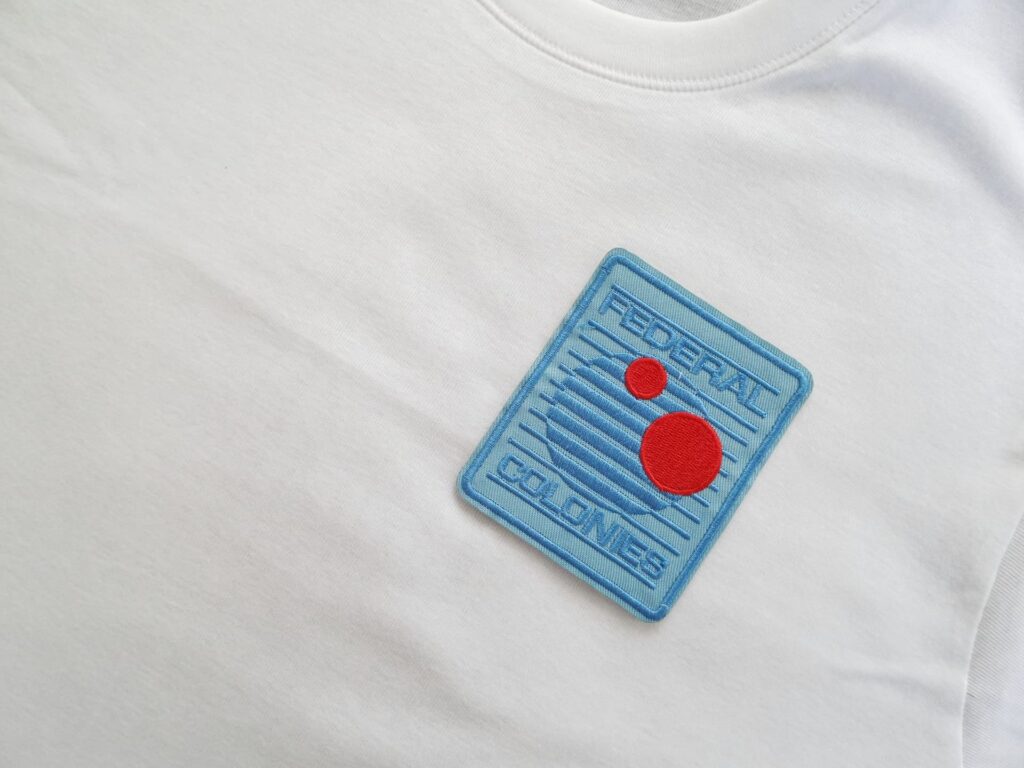
Put simply, embroidery is when you stitch a design to a substrate. All you need is a sewing machine, a hoop, and the correct thread (as well as additional equipment, but we’ll get to that later), and you can start making simple or beautiful designs, either sewn directly onto the substrate or as patches and tags you can cut and sew – or iron on – separately.
Embroidery is mainly used to stitch logos, business names, and even employee tags for company uniforms. Still, you can also use embroidery to create designs for tote bags, blankets, towels, and more. The design is permanently affixed to the substrate while having a high level of durability that enables it to last much longer than conventionally printed (e.g., screen-printed) designs. For some embroidered designs, like those on tags and patches, you can unstitch and then restitch them onto other locations on a substrate.
What Do You Need for Custom Embroidery?
You’ll need several pieces of equipment and consumables to start your embroidery journey.
Embroidery Machines
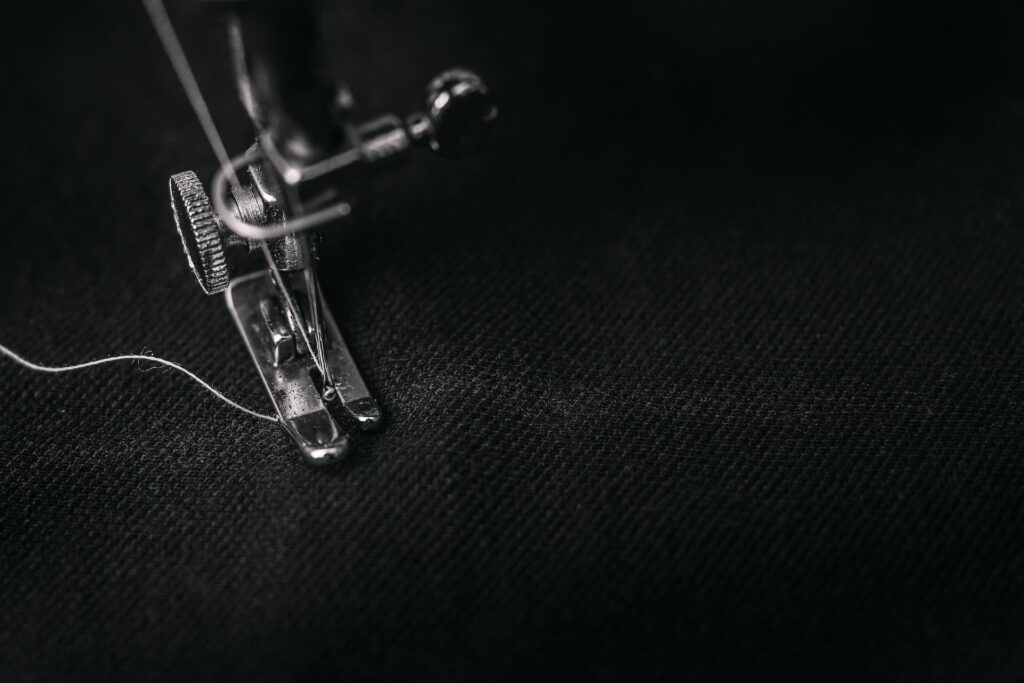
The embroidery machine is an essential component for embroidery, as without it, you won’t even be able to create anything! Jokes aside, the embroidery machine comes in two variations: single-needle machines for hobbyists and multi-needle machines used for large-scale embroidery.
The single-needle machine is what you’ll need for basic homemade embroidery items. As the name suggests, it only has one needle for embroidering. That also means it can only hold one type and color of thread at a time, so it’s not ideal for multicolored designs. They’re good to start with if you’re new to embroidery and want to learn the ropes. If you plan to start selling various embroidery products, a single-needle machine isn’t the right choice owing to its slower embroidery speed and inability to embroider on larger substrates.
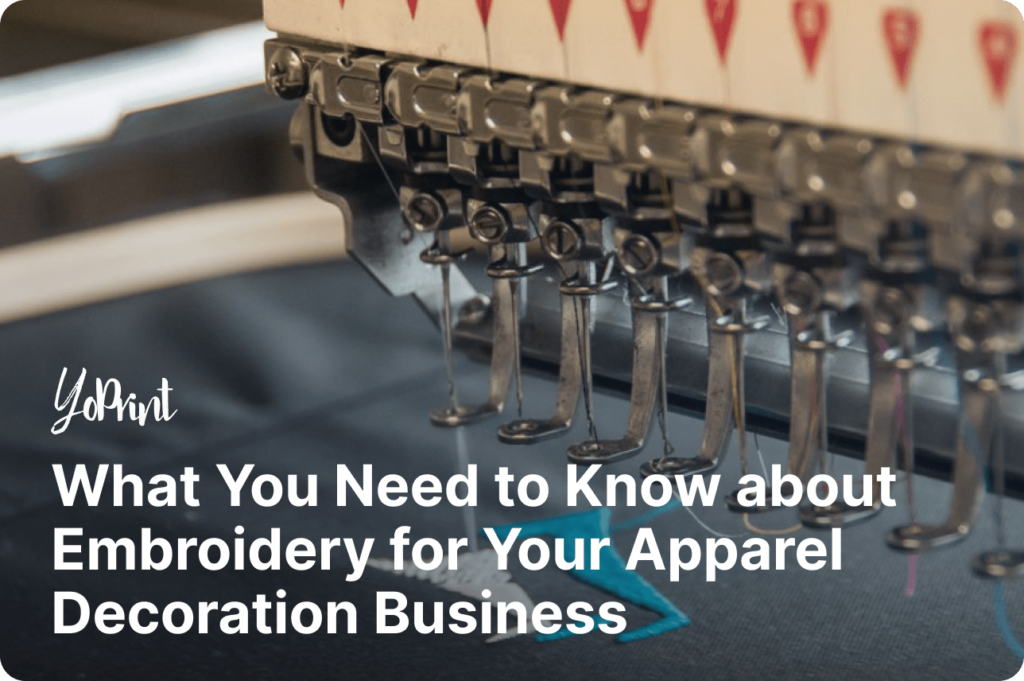
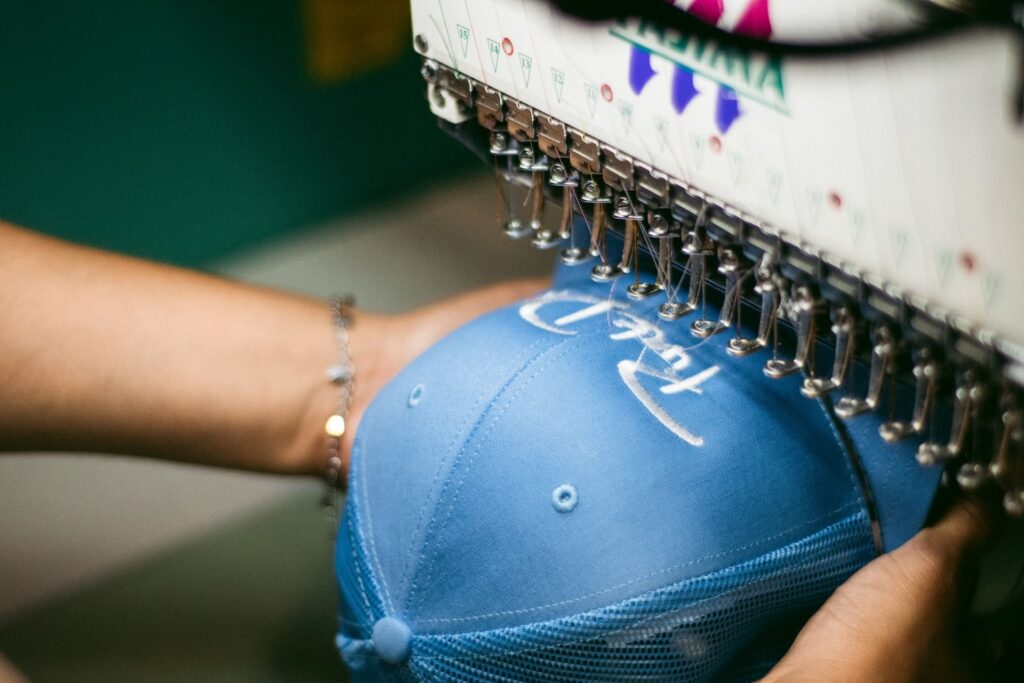
Multi-needle machines are what’s used by embroidery mills and shops, as they have multiple heads that can support as many as six and even up to 16 needles (or more) for numerous types and colors of threads. These machines are much faster at creating embroidery designs, allowing you to make multiples quickly. They can also support embroidery for non-garment items like hats.
You’ll also need to get the right needles for the job. Needles come in various sizes for various purposes; the most common size is 75/11. Note that the needle size refers to the shaft’s diameter: a lower number means the shaft is small. You’ll need to consider various factors when embroidering, like using larger needles for heavier or thicker substrates or threads.
Threads
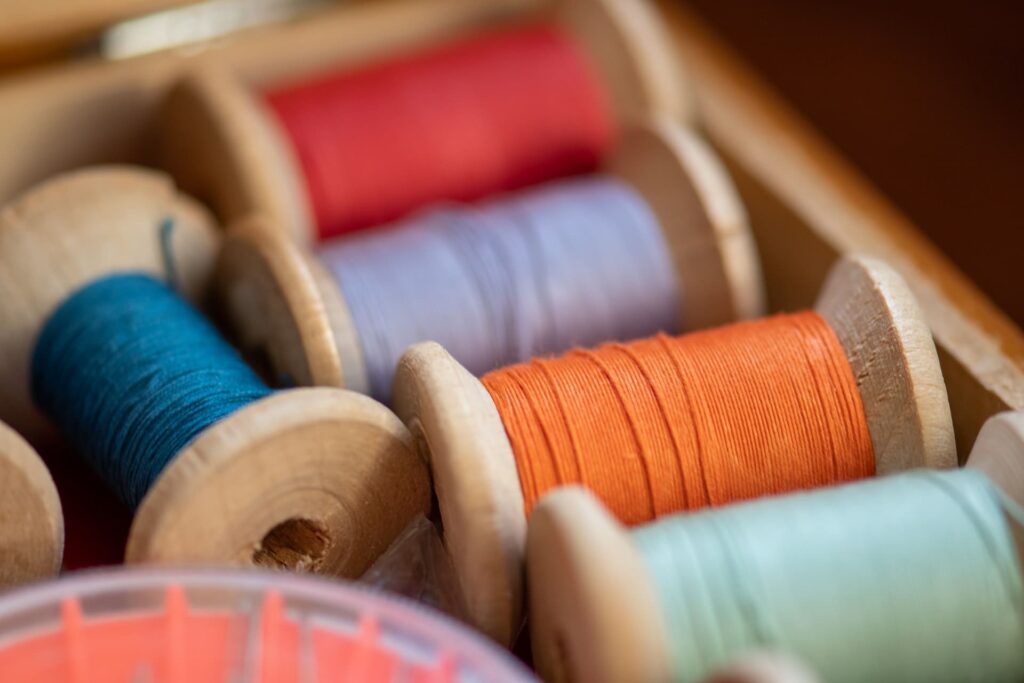
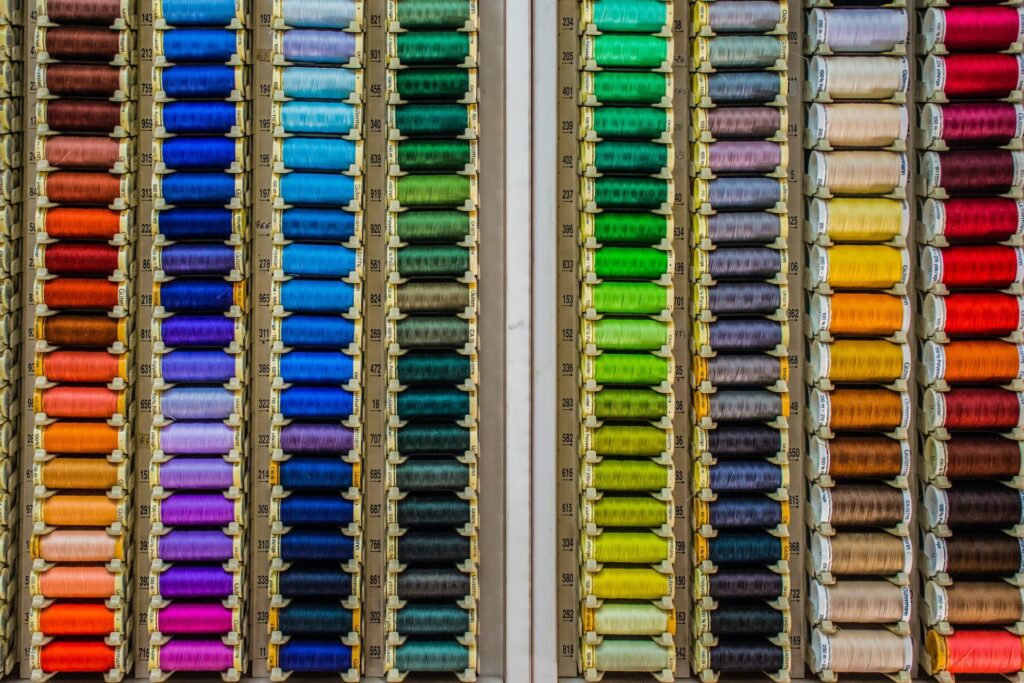
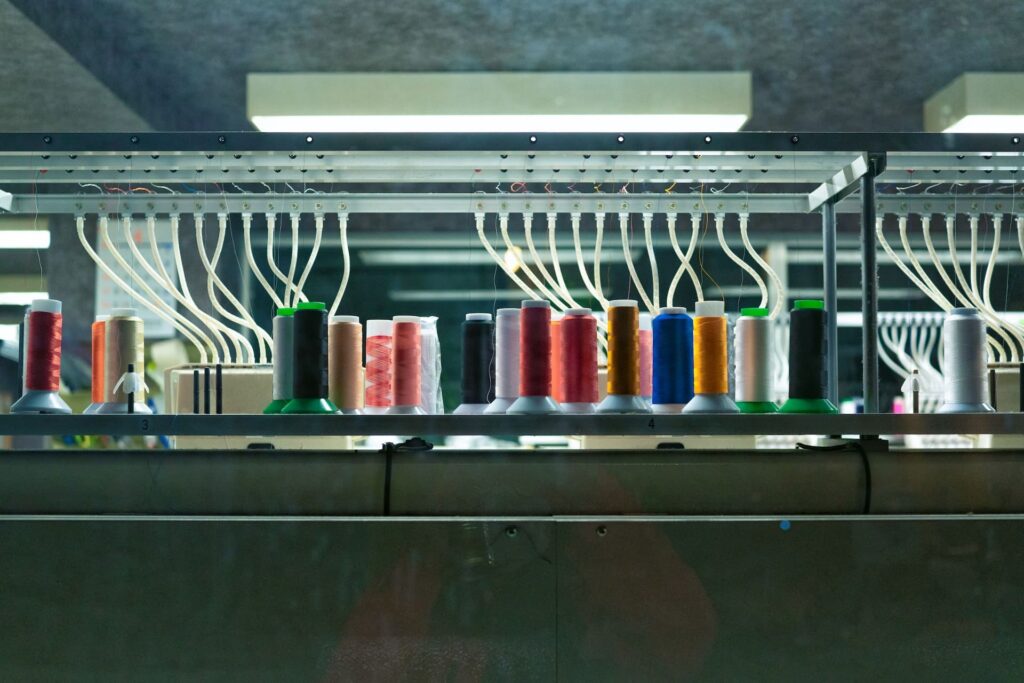
Thread is what you’ll need to create the designs you want. These also come in different forms with varied uses, such as polyester and rayon. Besides the material of the thread, thread weight (wt) is an essential factor to consider when creating an embroidered design. Essentially, the lower a thread’s weight is, the heavier and thicker it is. Standard industrial-use thread weight is usually between 30 to 40wt. Before buying an embroidery machine, double-check the thread weights it supports.
As for the threads themselves, there are five thread types commonly used in custom embroidery.
- Polyester: The most commonly used thread that’s relatively durable and versatile in its applications.
- Rayon: Though nowhere as durable as polyester thread, rayon thread is softer and creates a more beautiful design. It’s best for intricate designs or even freestanding lace.
- Metallic: Essentially a core that’s wrapped up by metals and/or foils, metallic thread creates a lovely metallic sheen. However, metallic thread is difficult to work with, no thanks to its lower breaking point. However, you can find stronger metallic threads sold in various places.
- Cotton: Cotton has a soft sheen to it, giving a handmade appearance to them.
- Silk: A premium thread, silk is a strong yet fine thread type with amazing softness and shine. It’s also the most expensive thread type you can purchase.
Hoops/Frames
Hoops (or frames) are what you use to keep the substrate on your embroidery machine. The hoop ensures that the substrate is kept in place while being embroidered. You’ll need to be careful with how you hoop your substrates. Too loose and the fabric will move around a lot, heavily distorting the embroidered design; too tight and the hoop leaves a permanent mark on the substrate (fabric burn).
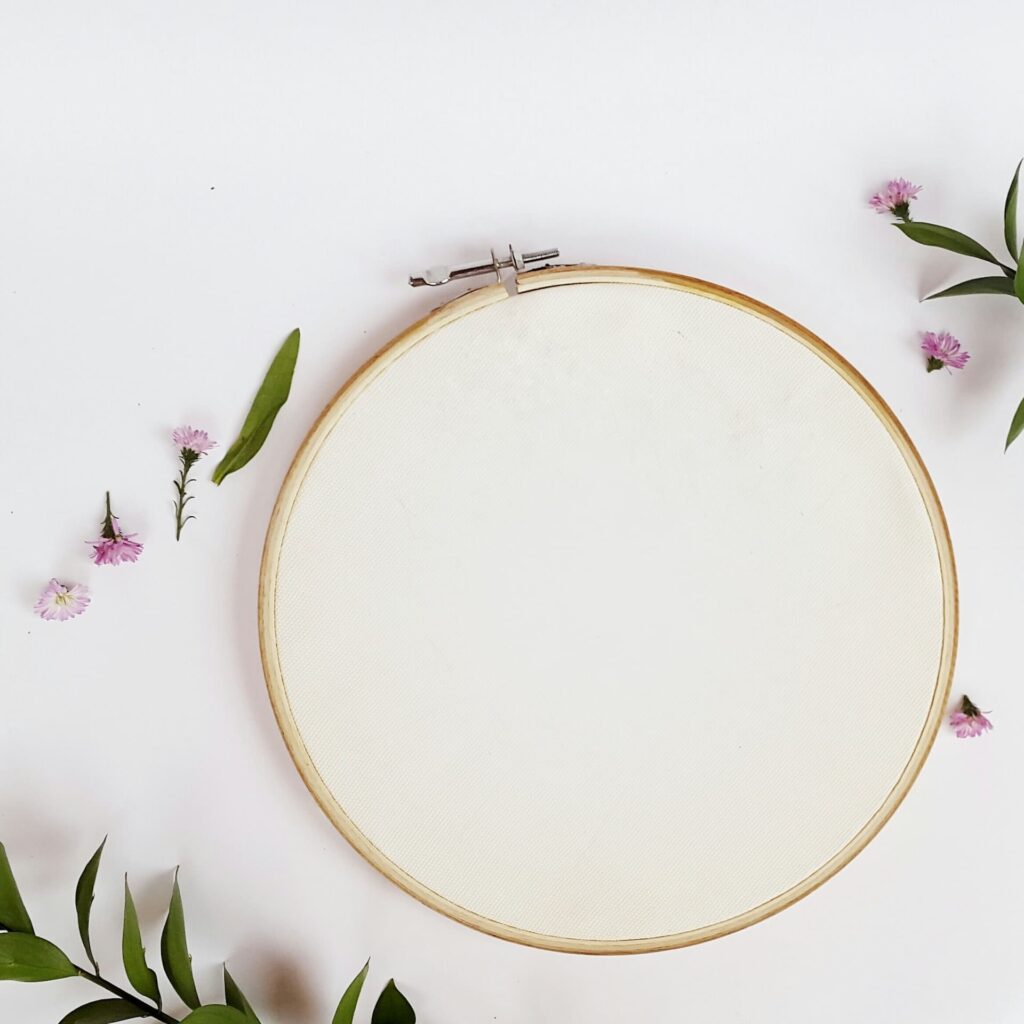
Hoops and frames come in different shapes and sizes compatible with other substrates. You may need larger hoops for larger items or designs.
Stabilizer
Sometimes called backing, stabilizers help support the substrate during the embroidery process, preventing the substrate from puckering (when the substrate bunches up near the stitching) or stretching. There are three main types of stabilizers, each with different applications.
- Tear-away: Best used for stable woven fabrics, such as leather
- Wash-away: Ideal for projects where you don’t want the stabilizer to show up
- Cut-away: These are the most stable type of stabilizer that is best used for stretchy or knit fabrics
“Heavier” stabilizers can support more stitches and are ideal for thicker fabrics. In contrast, “lighter” ones are best used for lightweight fabrics and lower stitch counts.
Embroidery Scissors and Tweezers
While it might seem odd to have these around, you’ll need them to clean up loose threads on a completed embroidery project. You’ll also need to note that embroidery scissors or shears are only meant to cut thread, while others are meant for cutting fabrics or other substrates. Ideally, you should have a few pairs of inexpensive scissors for cutting thread and applique (attaching fabric to a bigger fabric piece and creating a unique design) in your sewing areas.
Spray Adhesive
Spray adhesive helps keep your substrates in place during embroidery. This ensures you won’t get a lot of wrinkles or misaligned stitches (or worse). There are also different types of adhesives besides spray ones.
Digitizing and Design Software
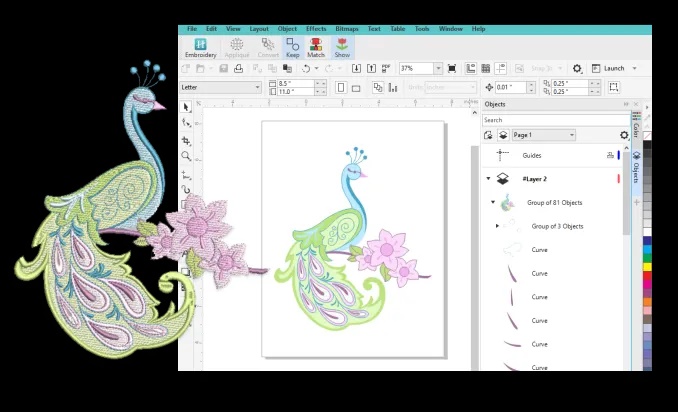
Software is another core component to creating your embroidery designs. Without these, you won’t be able to create them at all. And without digitizing software, your embroidery machine won’t know precisely how to make your desired design. Digitizing software works in a similar way to raster image processor (RIP) software used for direct-to-film(DTF) or direct-to-garment (DTG) printing: it ensures that the design is translated into understandable instructions that the embroidery machine can use.
There are many different software providers you can choose from, with some bundling the software with the embroidery machine you purchased. You’ll be able to edit the design and determine how to stitch it together to create the final product.
Supplementary Tools
There may be other useful items you’ll need to help you create great embroidery pieces. A tension gauge, for example, can help you determine the upper thread tension and allow you to fine-tune it to the desired amount. Meanwhile, stitch erasers can help you remove stitches if you make a mistake while embroidering.
Then there are hooping stations like the Hoopmaster, which ensure consistent design placement whenever you’re embroidering on specific positions. There are plenty of other useful tools you might find out there, but make sure you’re not simply buying whatever you find!
Creating your Embroidery Products
The next step is creating the embroidery products you want to sell. Are you planning to combine embroidery with another printing service to complement one another? Or are you solely focusing on embroidery only? Whatever you decide, you have two options to go about it: embroidering in-house from your shop or outsourcing it to someone else while you focus on your core market.
In-house Embroidery
Doing it from your shop means you’ll need to invest in all the required equipment to start embroidering. If you’re still new to embroidery, it won’t hurt to start on a smaller scale first while you learn the techniques.
Basic Embroidery Setup
A basic setup doesn’t need much to get you started. You’ll need a single-needle machine, digitizing software, and all the required consumables such as thread, stabilizer, and more. Remember that flatbed machines typically found in households are not ideal for specific substrates and are generally slower to create a design.
Embroidery machines: Some single-needle machines, like Brother’s PRS100, might allow you to have multiple thread spools for easily threading different colors onto a single design. But most of these models won’t come cheap; the MSRP of the PRS100 is around $5,000. You could find other brands on various online marketplaces for a lower price, but it can be a case of “you get what you buy:” you might end up with a cheap, but also problematic, machine that constantly gives you a headache.
Thread: You can buy threads in single spools or boxed sets with multiple colors. Simthread and Madeira are well-rated thread makers you can purchase from. Simthread, for example, sells a set of 40 spools of 550yd length 40wt polyester threads (in various colors) for only $24. Be sure to get bobbin thread as well, as without one, you won’t have a stitch. A 144pc bobbin thread set from Simthread can go for $25.
Hoops/frames: You can get a set of embroidery hoops of varying sizes at $6 or more. You could also consider getting a hooping aid, which can make the hooping process go a lot faster and more smoothly. Hooping stations can be a little pricey, starting from $200 and higher.
Stabilizer: It’s often suggested that you buy stabilizers based on price point and not necessarily branding, though there are some exceptions. For one, cheaply available stabilizers from places like Walmart might not provide the quality you need as solid backing for your embroidery. You can get stabilizer in rolls or as pre-cut sheets; 100 sheets of 8”x8” stabilizer can cost $11, while a 12” x 50yd roll of cut-away stabilizer can go for $28.
Scissors/shears: Use craft scissors or shears that are good enough for your trimming needs. Just make sure they’re sharp enough to cut threads, and use them only for threads. These can be found fairly cheap, sometimes as low as $6.
Business Embroidery Setup
A full-on shop setup will definitely cost you more to scale your embroidery production to meet customer demand. Multi-needle machines will be needed for this setup on top of the other supplies required from the basic setup.
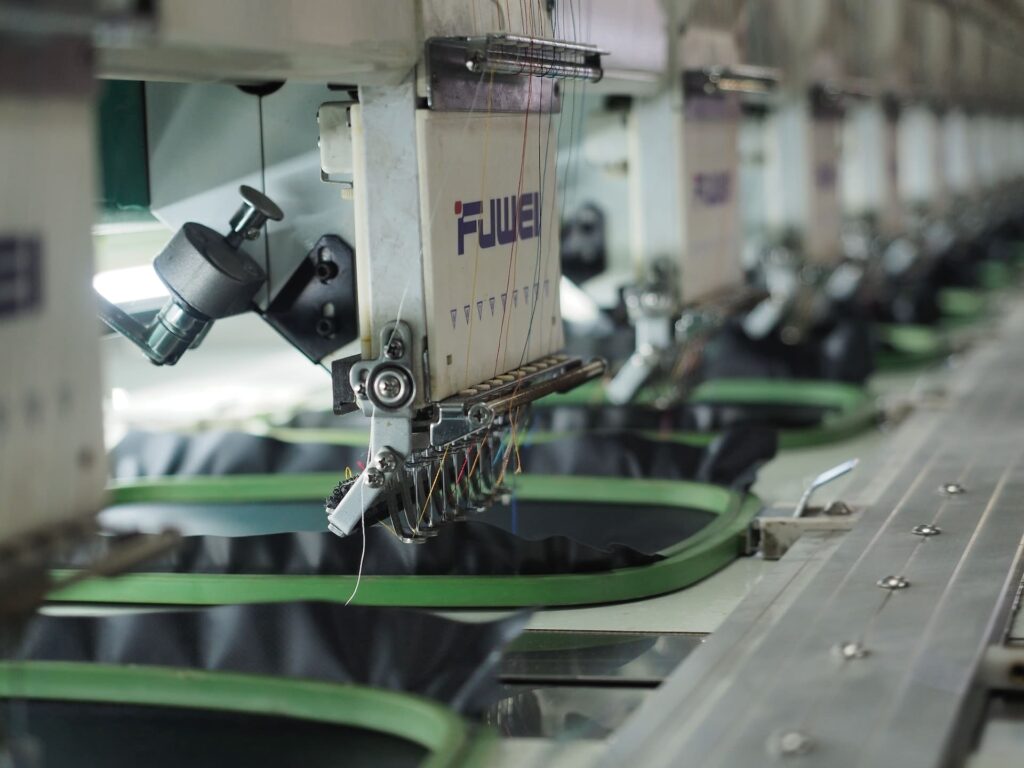
Multi-needle machines have many heads for quickly embroidering multiple products at once. But most of these models won’t come cheap; a multi-head machine by Tajima can go anywhere from at least $10,000. ZSK is another well-known manufacturer of embroidery machines; you can get a starter package that includes a ZSK SPRINT 6 embroidery machine and other starting supplies from $18,900 or higher from one of their official partners. There are also larger machines that are at least $20,000 available and can be tailored to suit your needs.
Add on the fact that you’ll need more than one machine to meet client demand, and you can see how your costs will only snowball from here. More machines also mean more staff for threading machines, adjusting tensions, etc.
Leasing your equipment is the best way to keep your costs low and improve your margins. By leasing, you’re signing a contract that allows you to use equipment as though it belongs to you while only needing to pay a fixed amount for an agreed-upon duration as set in the contract. While you won’t get to own the equipment, you’ll be able to preserve your cash flow by not having to buy brand-new equipment.
Outsourcing Your Embroidery
If you’d rather not add the extra expense of buying equipment, you can outsource your embroidery work for a nominal price. Many businesses would be happy to help you out at a decent price point for every embroidered item you need. Suppose you have the embroidery equipment but don’t want to digitize designs. In that case, you can contract a professional digitizer to do it for you and pay them on a per-design basis (with some price difference based on the complexity of the design). If you’d rather not busy yourself with the intricacies of embroidery, an embroidery mill can do it for you at a good rate.
Outsourcing provides a lot of flexibility while keeping your costs low. If you’re only interested in selling embroidered goods and not making them, having an embroidery mill do it for you frees you from needing to invest in all the required equipment to embroider. You’ll still need some items handy for quality control, but that only needs a fraction of the total cost of purchasing (or leasing) the equipment.
Important Considerations
Before getting into it, embroidery does have its own pros and cons. Not every shop runs an embroidery business for various reasons, and you’ll need to think about this before you decide if it’s a good fit for your shop. Consider the following points before making a decision.
Setup Costs
If you’re doing it in-house, acquiring the needed embroidery equipment is expensive, as we’ve illustrated above. It might not be as costly as a complete DTG setup, but going over $20,000 still makes it a sizeable investment. If you already own a print shop, that $20,000 could be reinvested into improving your current setup, like purchasing or leasing newer equipment and replacing old ones.
If you’re lucky, you might be able to buy secondhand embroidery equipment at a low price. Still, you’ll need to make sure you don’t buy obsolete equipment that could put you at a significant disadvantage. Leasing is also an option that can help you save up cash for other, more important business requirements.
You’d also need to consider the setup costs in relation to what you’ll be printing and whether there’s demand for it. The more demand there is for embroidery services, the faster you’ll be able to achieve a complete ROI. Otherwise, it might be a more logical decision to outsource your embroidery and focus on marketing and sales.
Learning Curve
Embroidery is a difficult decorative method to get into because it requires a significant degree of precision in how you create an embroidery design. You can let the machines do everything for you, but they still require your direction if you plan to create great designs for your customers. You’ll need to account for all the important variables, from thread weight to tension to the right stabilizer needed for certain materials.
The same applies to in-house digitizing. You’ll need a lot of practice to be able to get your digitizing right. It can take a particularly long time to hone the digitizing craft, as there can be many ways to approach a single design. It’s not as straightforward as digitizing a design and letting the software automatically do its thing; that leads to problematic results more often than not. Digitizing is nowhere as simple as RIP software in taking a digital design and recreating it as a physical product.
Production
Are you embroidering as a source of side income, or are you adding it as a new part of your print shop’s repertoire? Depending on your answer, it will affect the kind of production scale you’ll need to meet customer demand. For hobbyists selling their wares, having a single-needle machine might be sufficient if you fulfill orders from a small embroidery niche or sell your wares to friends and family. Anything more than that will need a multi-needle machine for better (and faster) results.
Embroidery does still take time to create a design, depending on the complexity of the design itself, as well as the manner of stitching it. You also have to factor in the time needed to hoop your substrates and mount them for embroidering, color changes, and cleaning up a completed design. And that’s not including unforeseen circumstances that might happen, such as thread breakage or missing stitches.
Speed control is essential to creating good embroidery designs that last a very long time. You can’t simply leave an embroidery machine to stitch designs at the fastest speed possible constantly. You’d have to deal with broken threads, bunched-up threads, or missing stitches. Choosing the right speed also depends on the type of thread or substrate you’re working on. If you use thin fabrics, for example, going fast can cause irreversible damage to the fabric itself.
The standard speed at which most embroidery machines work is between 600 to 700 stitches per minute (spm). Most machines can go up to higher speeds, sometimes exceeding 1,200 spm, but as we’ve mentioned, going fast can cause many more problems. Make sure to test the speed settings on a test fabric beforehand to see what works best for you.
Durability
Embroidery designs can last long, especially if they’ve been digitized properly, the right type of thread is used, and the stitching process goes smoothly. Even simple tags and patches are as durable as embroidered designs on your garments.
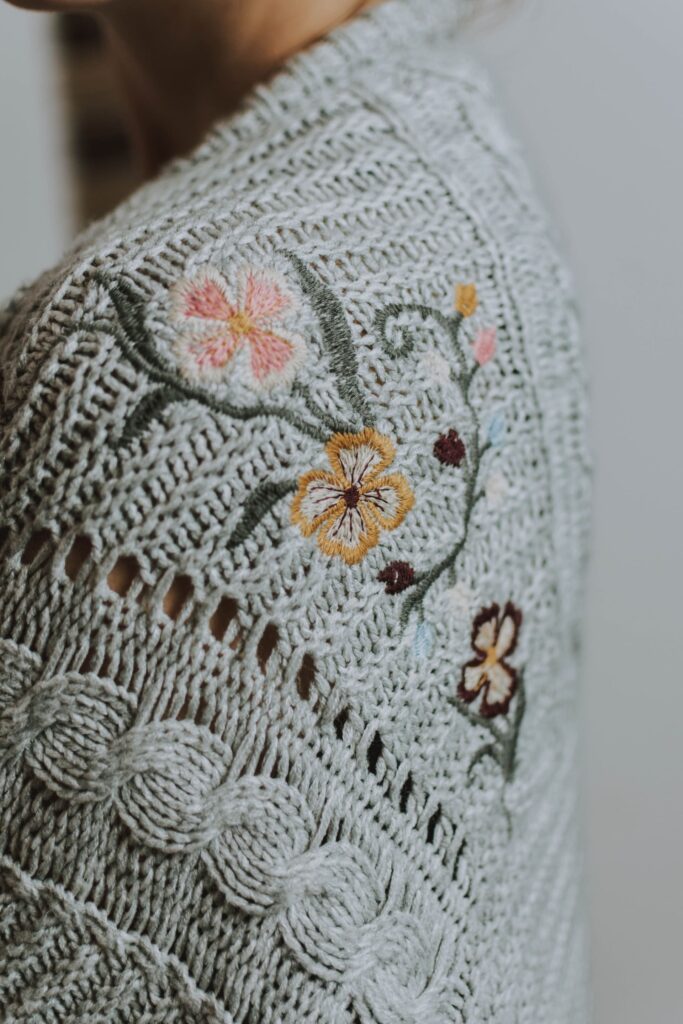
Unlike conventional printing methods such as screen printing, embroidery creates designs using a physical medium (thread), while printing applies ink onto the surface of the substrate. Though some types of printing can create lasting designs that withstand several washes, they will still fade or crack over time. Even dye sublimation prints, considered to have the most durable designs, eventually lose their luster after long periods of exposure to sunlight.
A few factors contribute to a design’s durability, including the thread’s tension, the thread, the quality of the thread, and even how the substrate is hooped/framed for embroidering. In the case of tension, you’ll have to be mindful of upper and lower/bobbin tensions. If any of the two don’t have the right tension, you could either cause thread breakage, loose stitches, or damage the substrate they’re stitched on.
Versatility
While some printing methods can print on various substrates, they still have their limitations. Screen printing, for example, works best on cotton or cotton blends or other similar substrates and doesn’t work as well on synthetic fibers like polyester. With embroidery, you’ll primarily work on nonwoven, woven, and knitted fabrics.
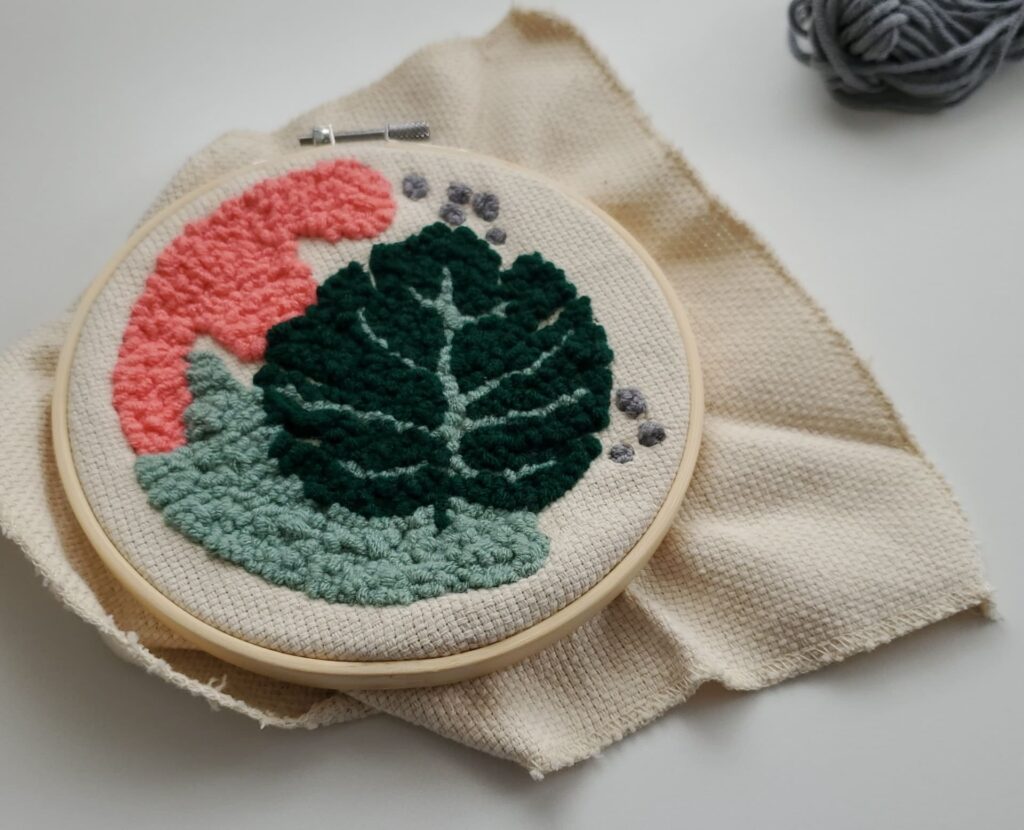
The kind of fabric you use will have different properties that you’ll need to consider. For example, nonwoven fabrics (such as acrylic and wool) are thick and rigid, making them suitable for embroidery designs. You can make patches or tags from nonwoven fabrics and use them on a fabric that won’t take well to being embroidered. The right type of stabilizer is also your best friend for certain fabrics, so make a point to run some tests first.
While it’s possible to embroider on thicker materials, it’s usually best not to. For some machines, the manufacturer recommends using fabrics below a certain thickness threshold; Brother, for example, recommends using fabrics that are under 2mm thick, or else there’s a risk of needle bending or breakage. You also need to be mindful of how you hoop the material, as it can affect how well the embroidered design turns out. In some cases, some materials can still move about while being embroidered, and that can lead to disastrous results.
Designs and Color

Colored embroidery threads, whether polyester or rayon, are all very vibrant. With metallic threads, you’ll get a shinier luster to them. Each thread type works best for whatever project you’re currently on. You’ll be able to blend them together and create beautiful, multicolored designs that stand out, but be sure to test them first. With the variety of weights that threads can have, you need to ensure that they are compatible with one another and won’t cause issues if you’re using different types in one design.
Embroidery works best for large designs, such as logos, since you can bring out many of its features fairly well. Properly digitized, even a simple design can have a professional-looking appearance. It’s why embroidery is usually done for corporate shirts with the company logo and nametag embroidered on the front.
It doesn’t work well for smaller, finer details like small imagery, intricate linework, or photographic designs requiring gradients and color blends. Machine stitching may be very accurate, but it’s still limited in how many stitches can fit in a small area. You can potentially simulate some of these features, but it won’t look as good as a direct-to-garment (DTG) printed design.
Pricing
Because of how intricate and complex some designs will require, pricing for embroidery is generally on the pricier side compared to conventional printing methods. Your pricing is generally based on stitch counts or the number of embroidery stitches needed to create a design. The higher a design’s stitch count, the longer it’ll take to embroider.
The simplest form of stitch count pricing is on a “per stitch” basis, usually a fixed amount per 1,000 stitches. So if, for example, you set a price point of $2 per 1,000 stitches, and a customer places an order for 50 shirts with a 7,000-stitch design, you’ll make $700. You can vary your pricing structure by including other aspects, such as the time needed to complete the order, the complexity of the embroidery design, rush jobs, and so forth. It’s not unusual if an embroidery shop also includes a setup fee to account for the time needed to prepare the embroidery machines for the task.
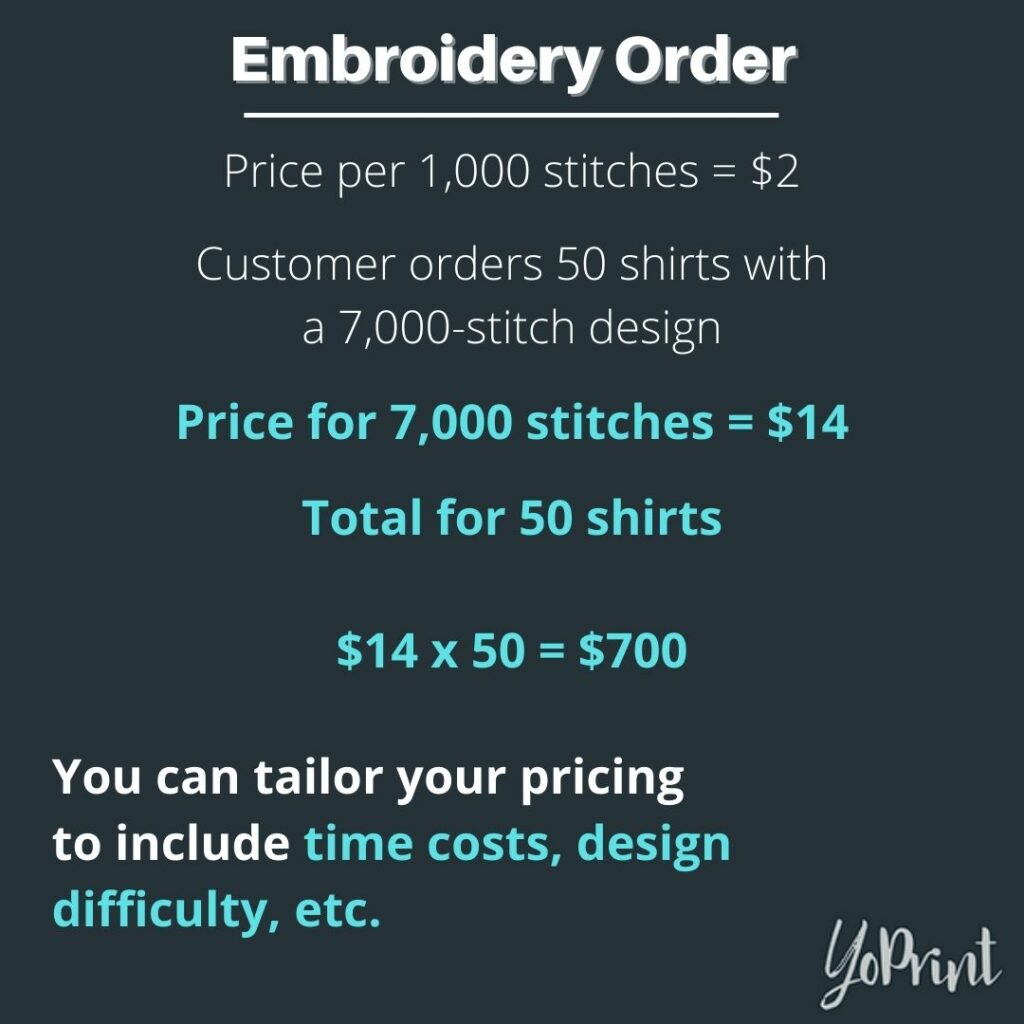
You can also have a tier list for different stitch counts, offering better rates for the more stitches a customer needs. For example, let’s say you charged $4 per 1,000 stitches; you could offer a rate of $3.50 for a stitch count between 1,001 to 2,000 stitches and $3.00 for a stitch count higher than 2,000 stitches.
Pricing for embroidery is challenging since creating embroidered works is just as expensive as purchasing them. Charge too little, and you might not be able to break even; charge too much, and you might not have any demand. Offering incentives can be a way to generate orders, such as having a small discount for specific quantities in an order.
Conclusion
Embroidery is a great way to add an attractive, lasting, permanent design to various substrates. The ability to stitch all kinds of designs from many different materials makes it a great way to add a professional touch to each item. Still, you’re not limited to garments: you can embroider on blankets, quilts, towels, and pillowcases, to name a few.
Embroidery is still an expensive decorative method to start with. Not only are embroidery machines relatively expensive, even for a home business, but it’s also very time and labor-intensive, as machines can’t stitch as fast as a screen printer can screen print on so many garments at once. You can’t rush the embroidery process since great precision is required to create excellent designs without issues. Moreover, supplies can be pricey depending on various factors, such as quality.
The challenge is also in finding a pricing structure that doesn’t cut into your profits while simultaneously drawing interest from potential customers. This also varies on whether you need to weigh in on additional fees to cover the investment costs of purchasing equipment and supplies or if you’re outsourcing the embroidery to a contract embroidery mill/shop.
Ultimately, if you are already focused on another decorative option, embroidery can be a value-added service you can add to your shop. However, you’ll need to weigh the pros and cons of running it in-house or outsourcing it if you really want to make the most of it.
